• Skip to primary navigation
  • Skip to main content
  • Skip to primary sidebar

Kelly Neil logo

  • Spring Recipes
  • Recipes
  • About
  • Contact
  • Subscribe
menu icon
go to homepage
  • Spring Recipes
  • Recipes
  • About
  • Contact
  • Subscribe
    • Email
    • Facebook
    • Instagram
    • Pinterest
  • subscribe
    search icon
    Homepage link
    • Spring Recipes
    • Recipes
    • About
    • Contact
    • Subscribe
    • Email
    • Facebook
    • Instagram
    • Pinterest
  • Γ—

    Kelly Neil Β» Recipes Β» Dessert

    Lemon Curd Ice Cream
    Published: Aug 10, 2020 Β· Modified: Mar 14, 2022 by Kelly Neil Β· 3 Comments

    • Share
    • Tweet
    • Email
    • Print
    Jump to Recipe Print Recipe
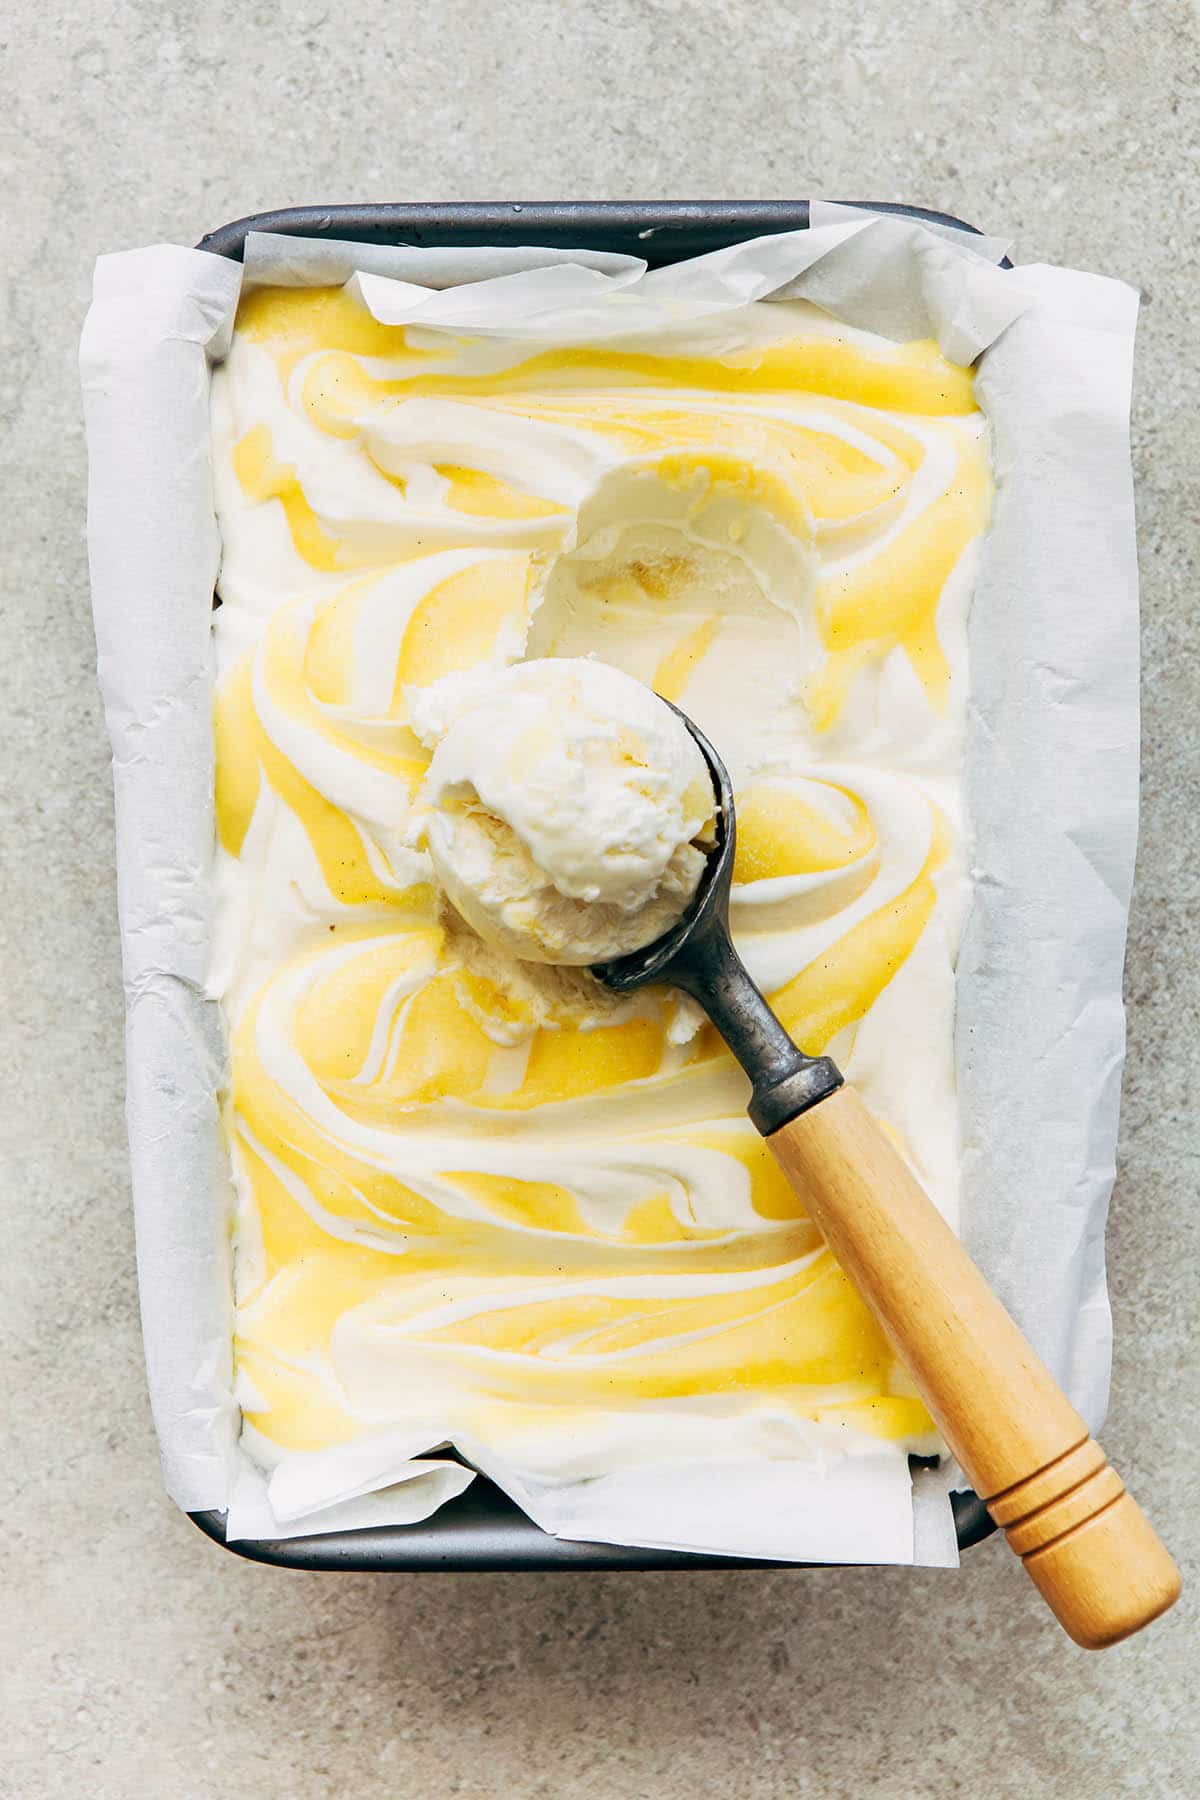
    Calling all lemon lovers! Lemon curd ice cream, with rich, smooth, no-churn vanilla ice cream, and ribbons of sunshiny lemon curd, is a creamy dreamy treat!
    Prep Time: 15 mins
    Freezing Time: 8 hrs
    Total Time: 8 hrs 15 mins
    A loaf pan of lemon curd ice cream with a scoop on top.

    I’m kind of obsessed with lemon curd. Actually, I think I’ll take that a step further and say I’m kind of obsessed with microwave lemon curd. I started making it about 10 years ago and it is BY FAR one of my favourite recipes. With just a few ingredients, and about 15 minutes, you can be eating the silkiest, most luscious lemon treat ever!

    Microwave lemon curd only takes 3 to 5 minutes to cook but it needs to cool before use, so take that into consideration when making this no-churn lemon curd ice cream. The ice cream takes about 15 minutes to make, and 6 to 8 hours to freeze, so plan accordingly.

    Jump to:
    • What Is No-Churn Ice Cream?
    • Ingredients
    • Step-By-Step Instructions
    • Notes & Tips
    • Substitutions
    • πŸ–¨ Recipe
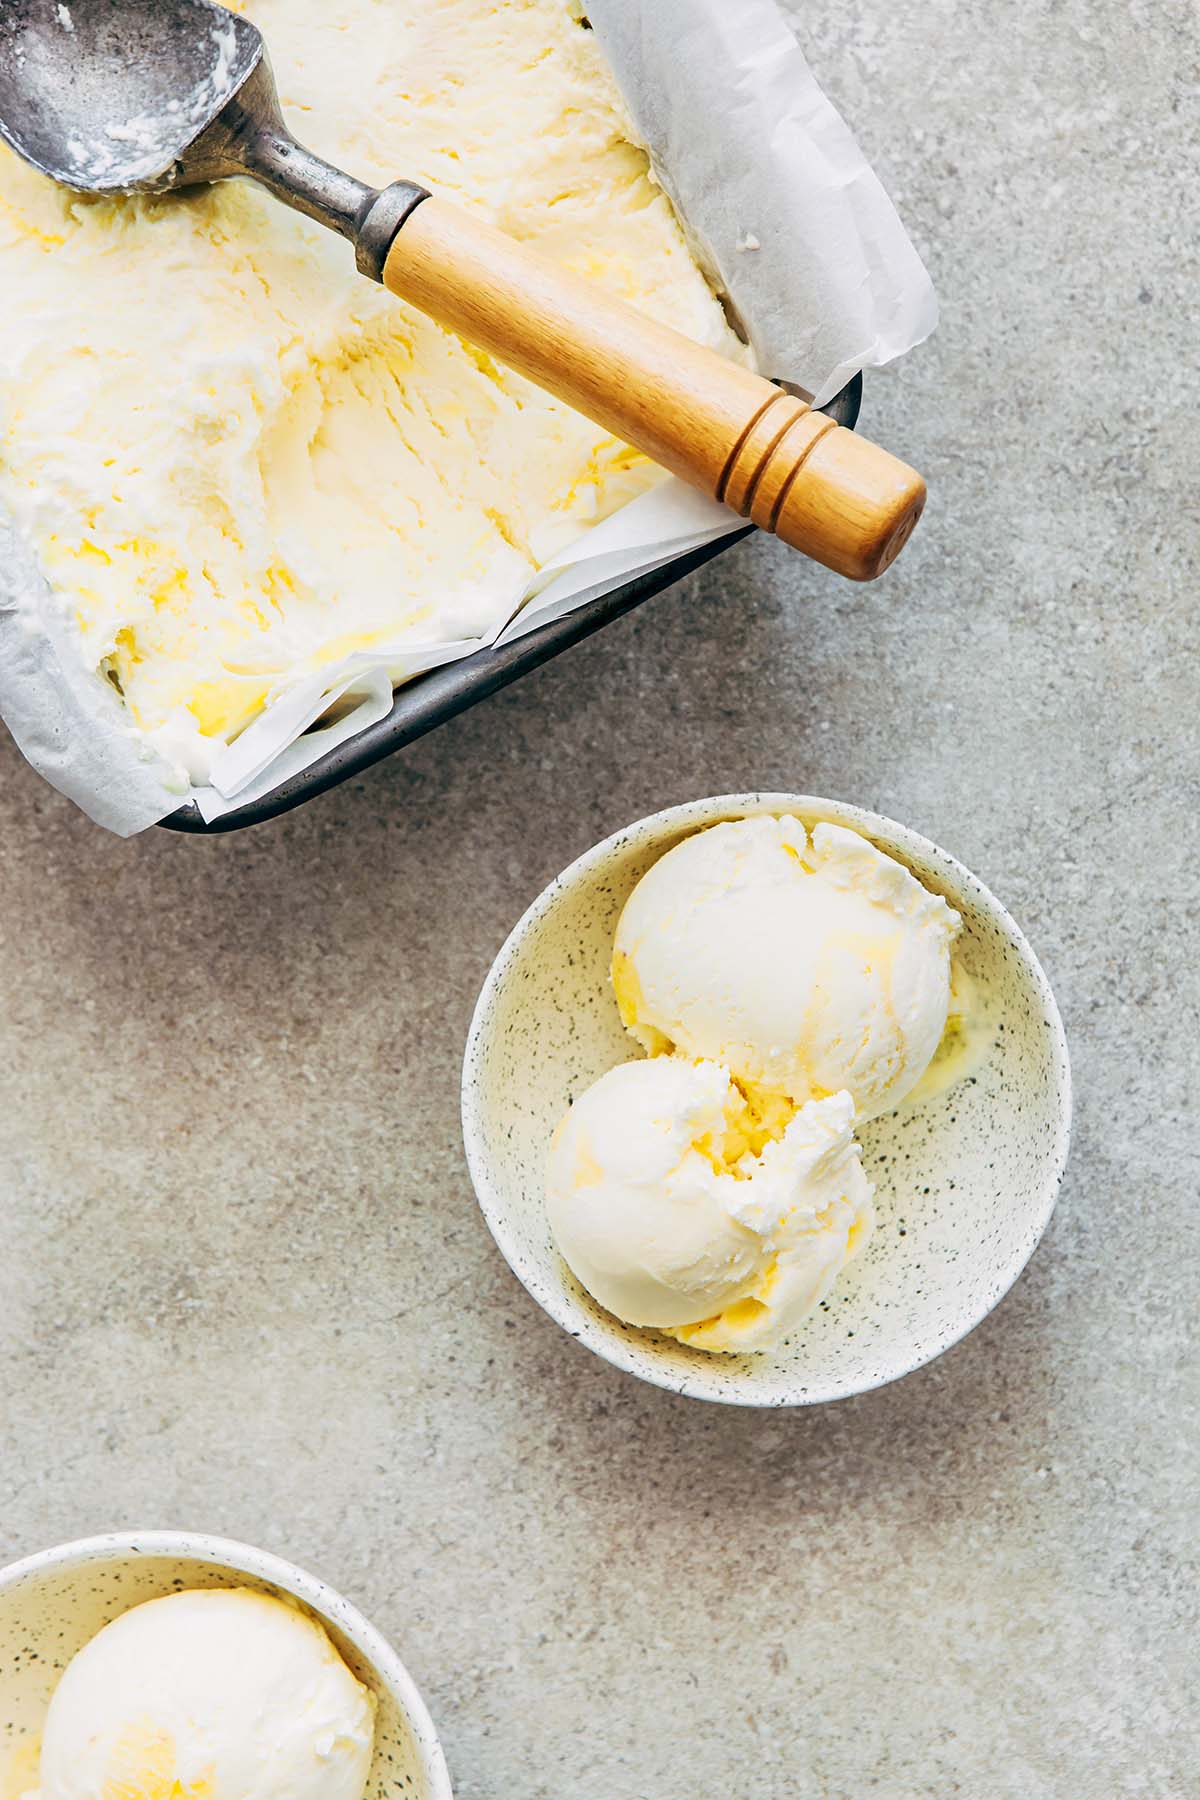
    Two small dishes of ice cream next to a loaf pan of ice cream with a scoop inside.

    What Is No-Churn Ice Cream?

    I own a traditional ice cream maker, however, I currently have a very small apartment-sized fridge and freezer. It’s not the best for storing a giant ice cream maker bowl! No-churn ice cream has been a revelation for me over the last couple of years. Essentially whipped cream mixed with condensed milk and frozen, no-churn ice cream is light, airy, and can be made with only a hand or stand mixer and a freezer. This lemon curd ice cream recipe consists of a vanilla no-churn base with lemon curd swirled throughout.

    Ingredients

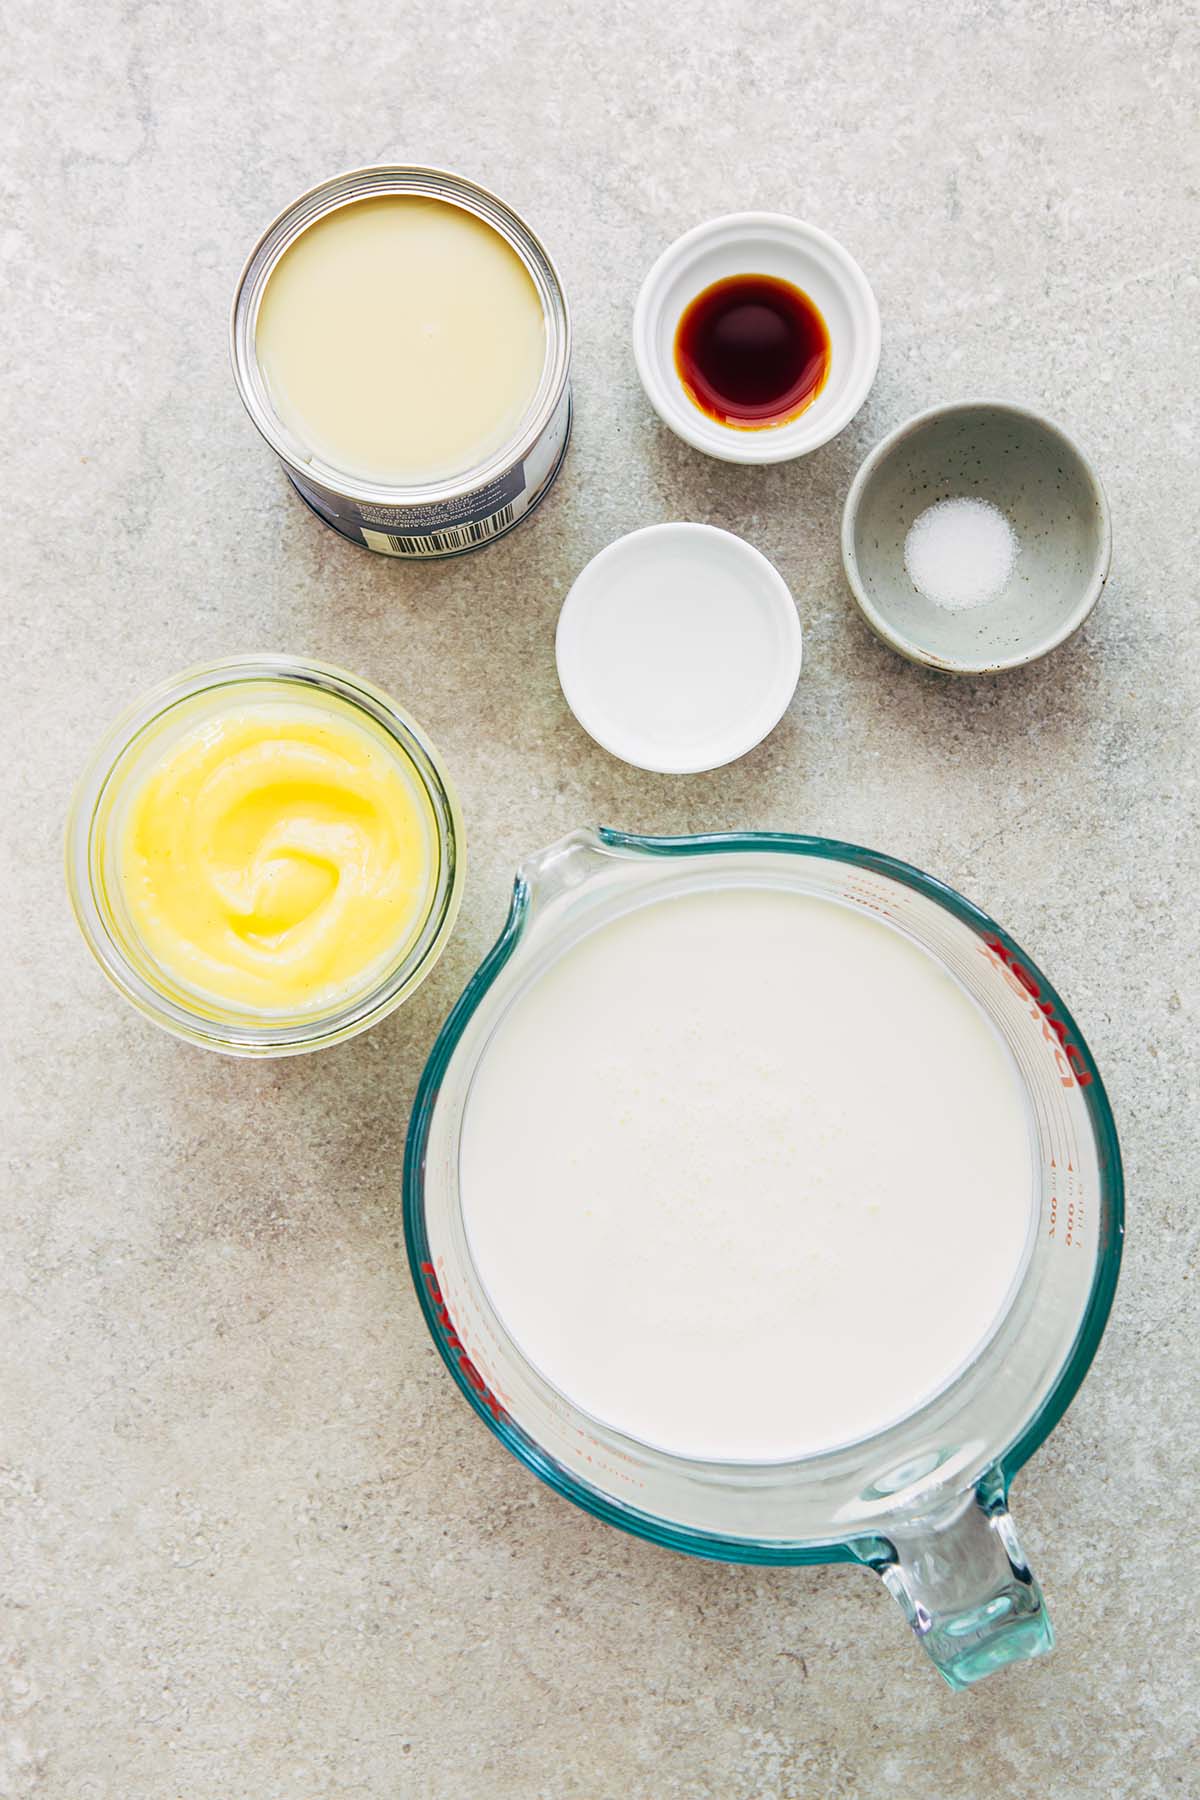
    • microwave lemon curd (cooled)
    • sweetened condensed milk
    • vodka (optional)
    • vanilla
    • salt
    • heavy whipping cream
    Ingredients to make lemon curd ice cream.

    Step-By-Step Instructions

    Line a standard loaf tin with parchment paper and set aside. If you don’t own a loaf tin, a square 8-inch (20-cm) baking dish, or any other dish of relative size that can be placed in the freezer will work.
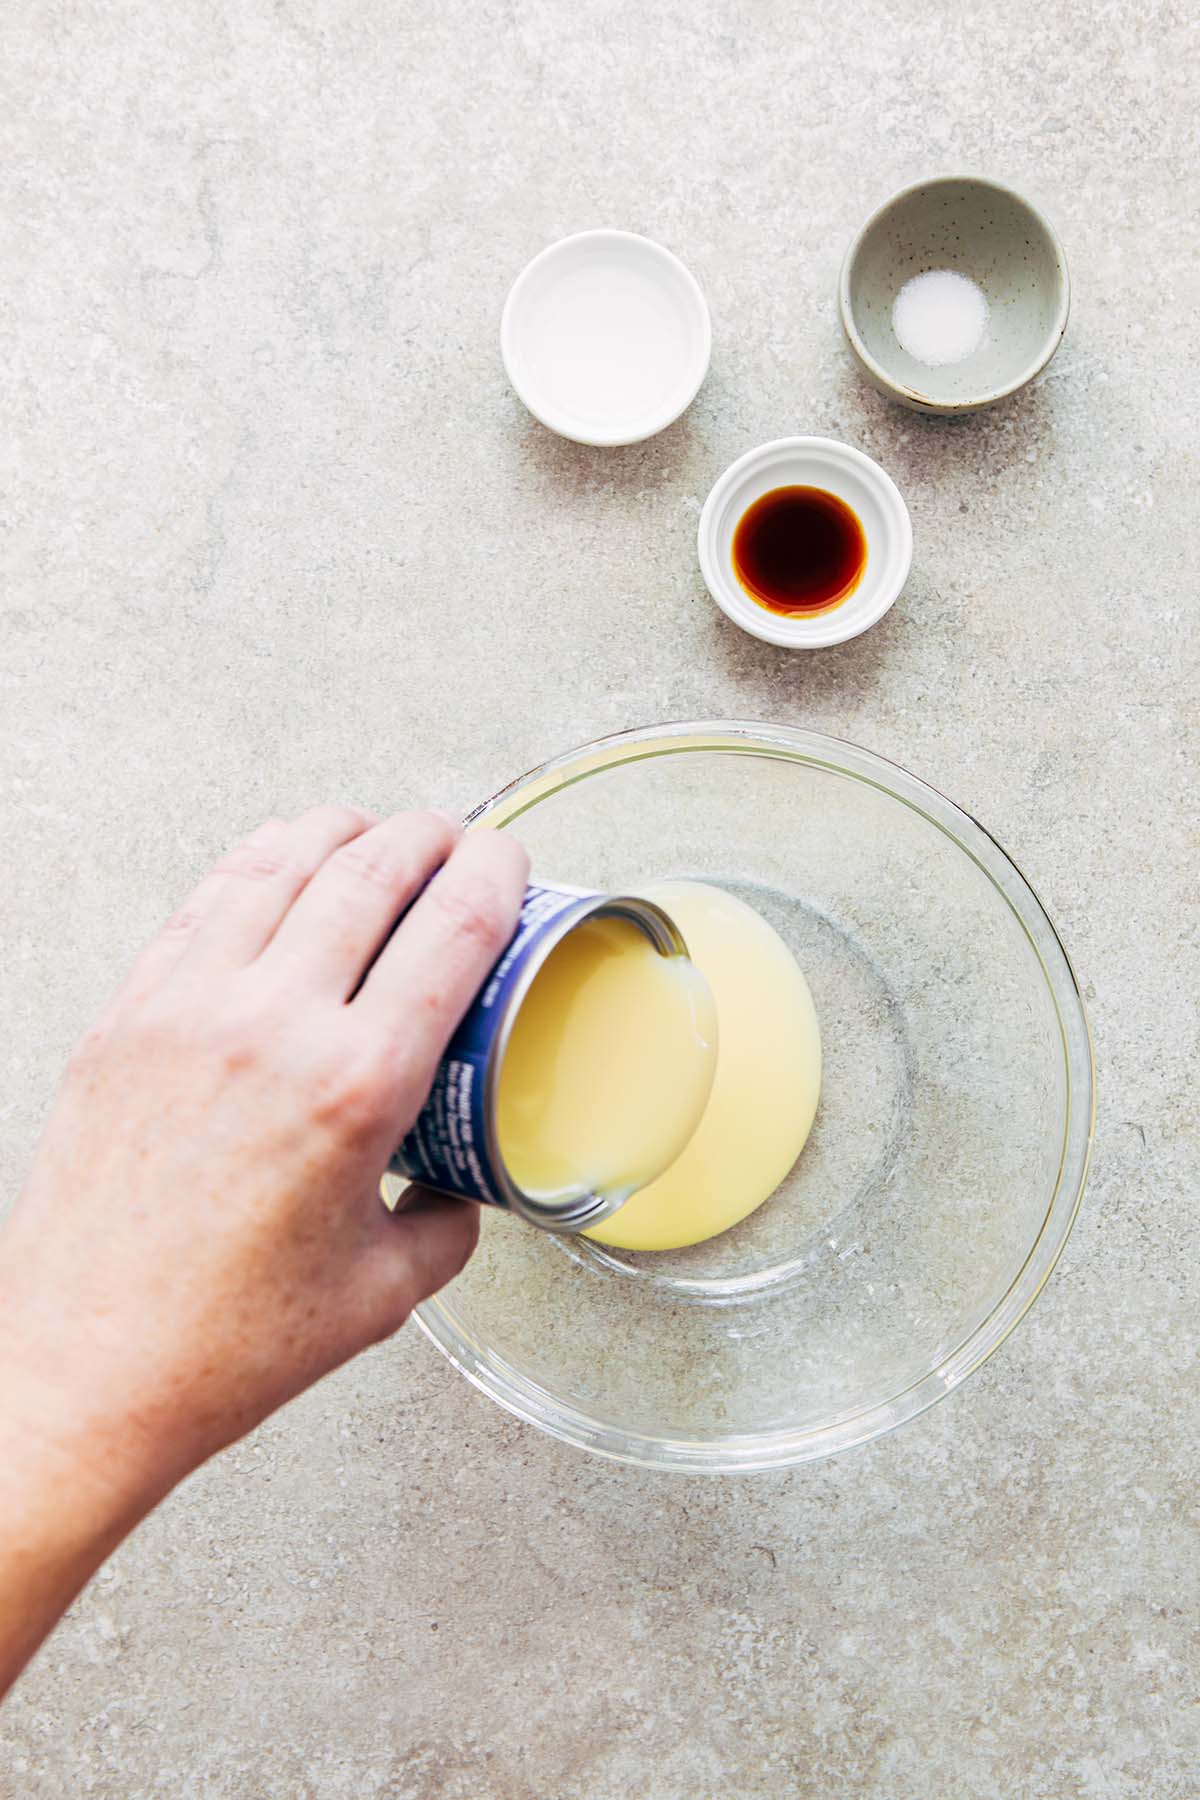
    A hand pouring a can of condensed milk into a glass bowl.
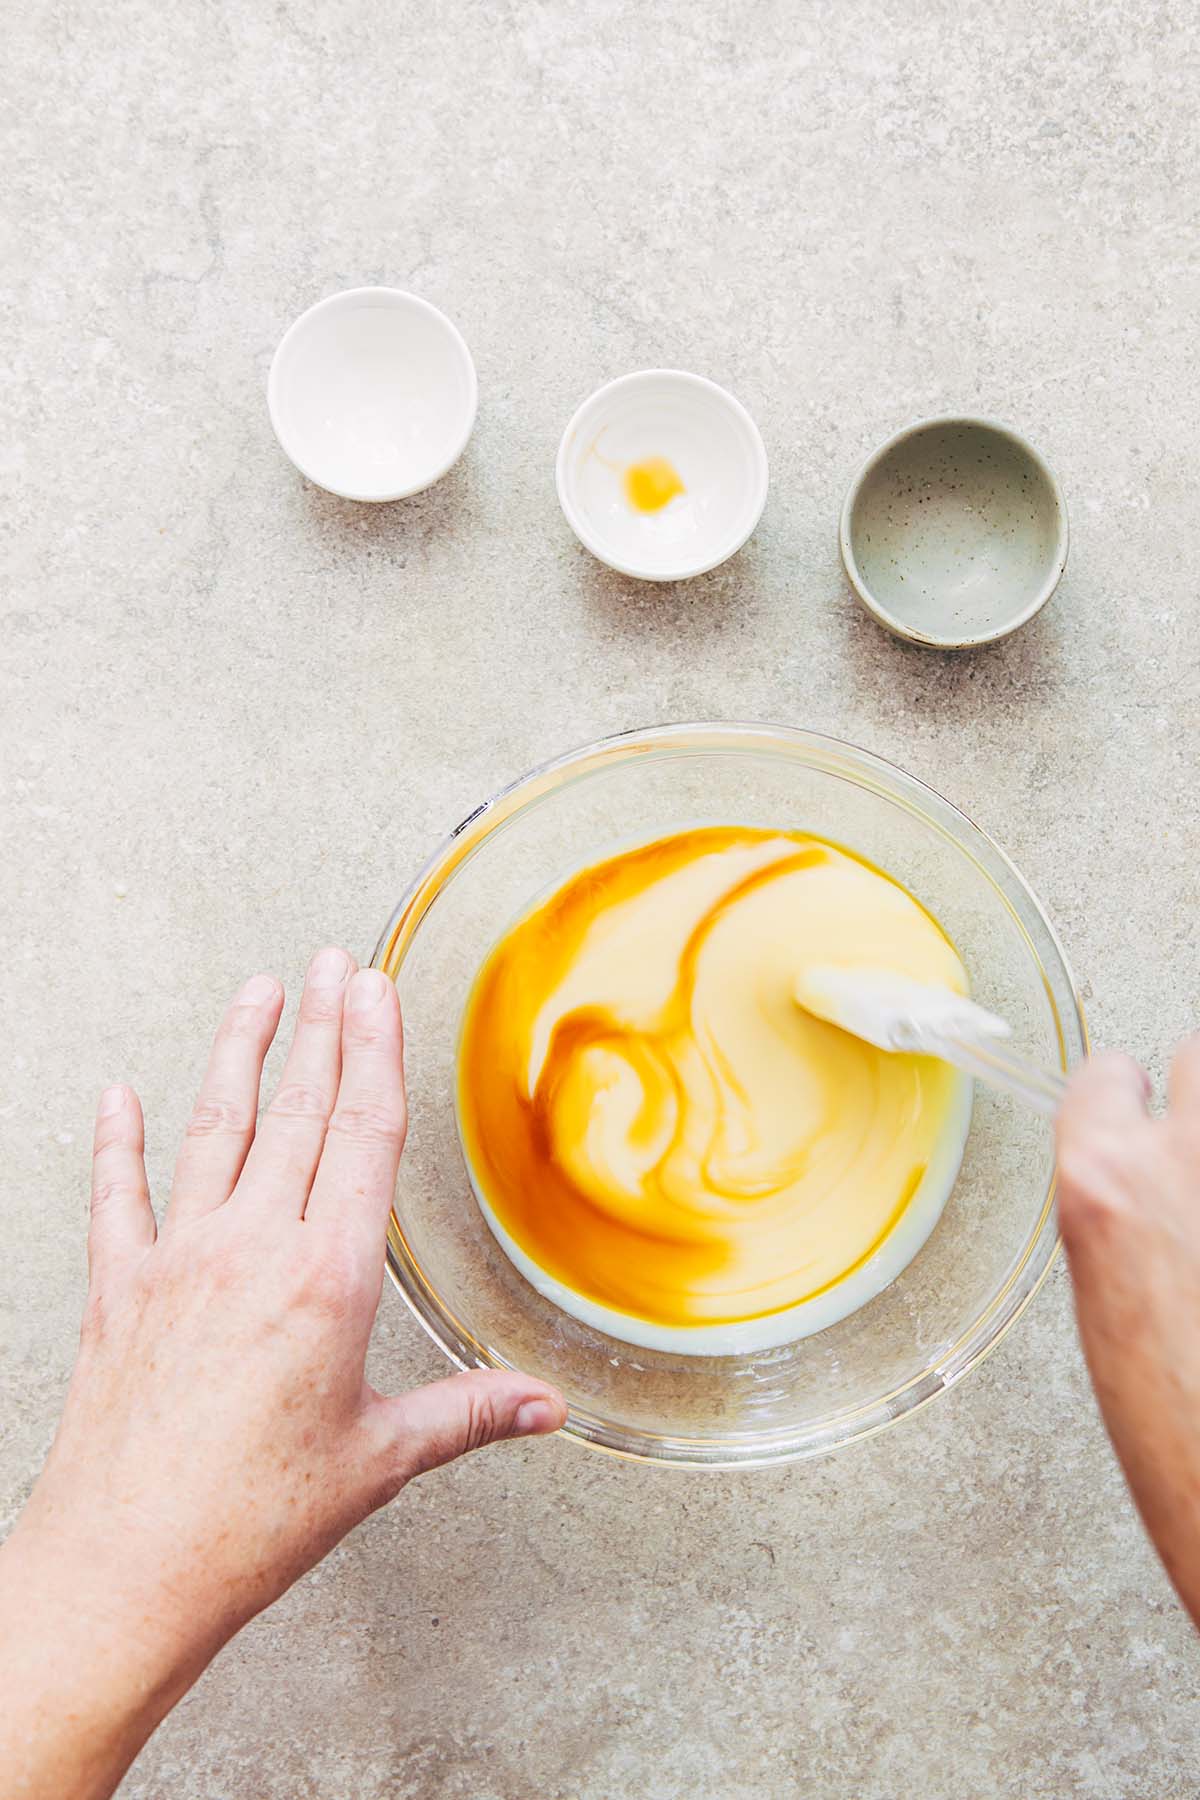
    A hand using a rubber spatula to mix condensed milk, vanilla, and vodka together in a glass bowl.

    Stir the condensed milk, vodka (if using), vanilla, and salt together in a bowl until well combined. It may take a few minutes for everything to emulsify together. Set aside.
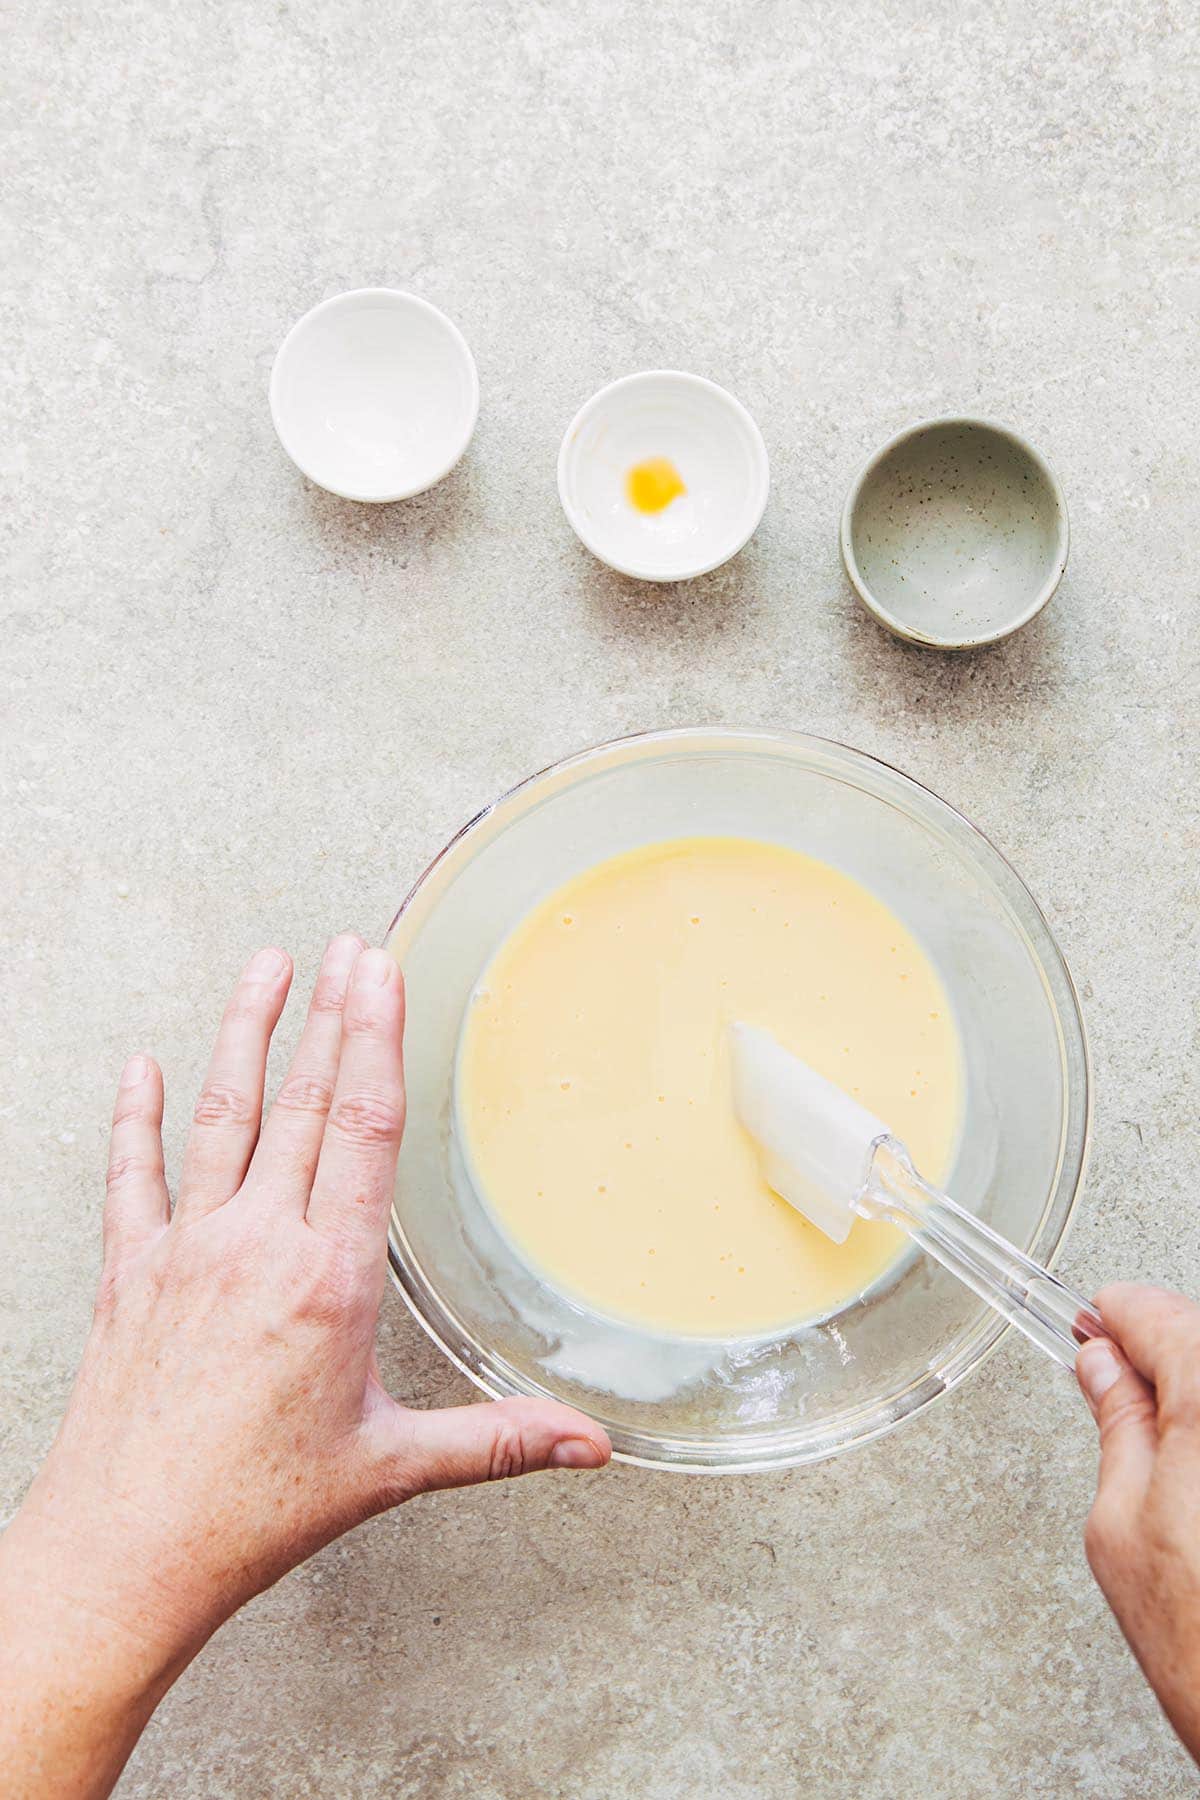
    A hand stirring condensed milk in a glass bowl.

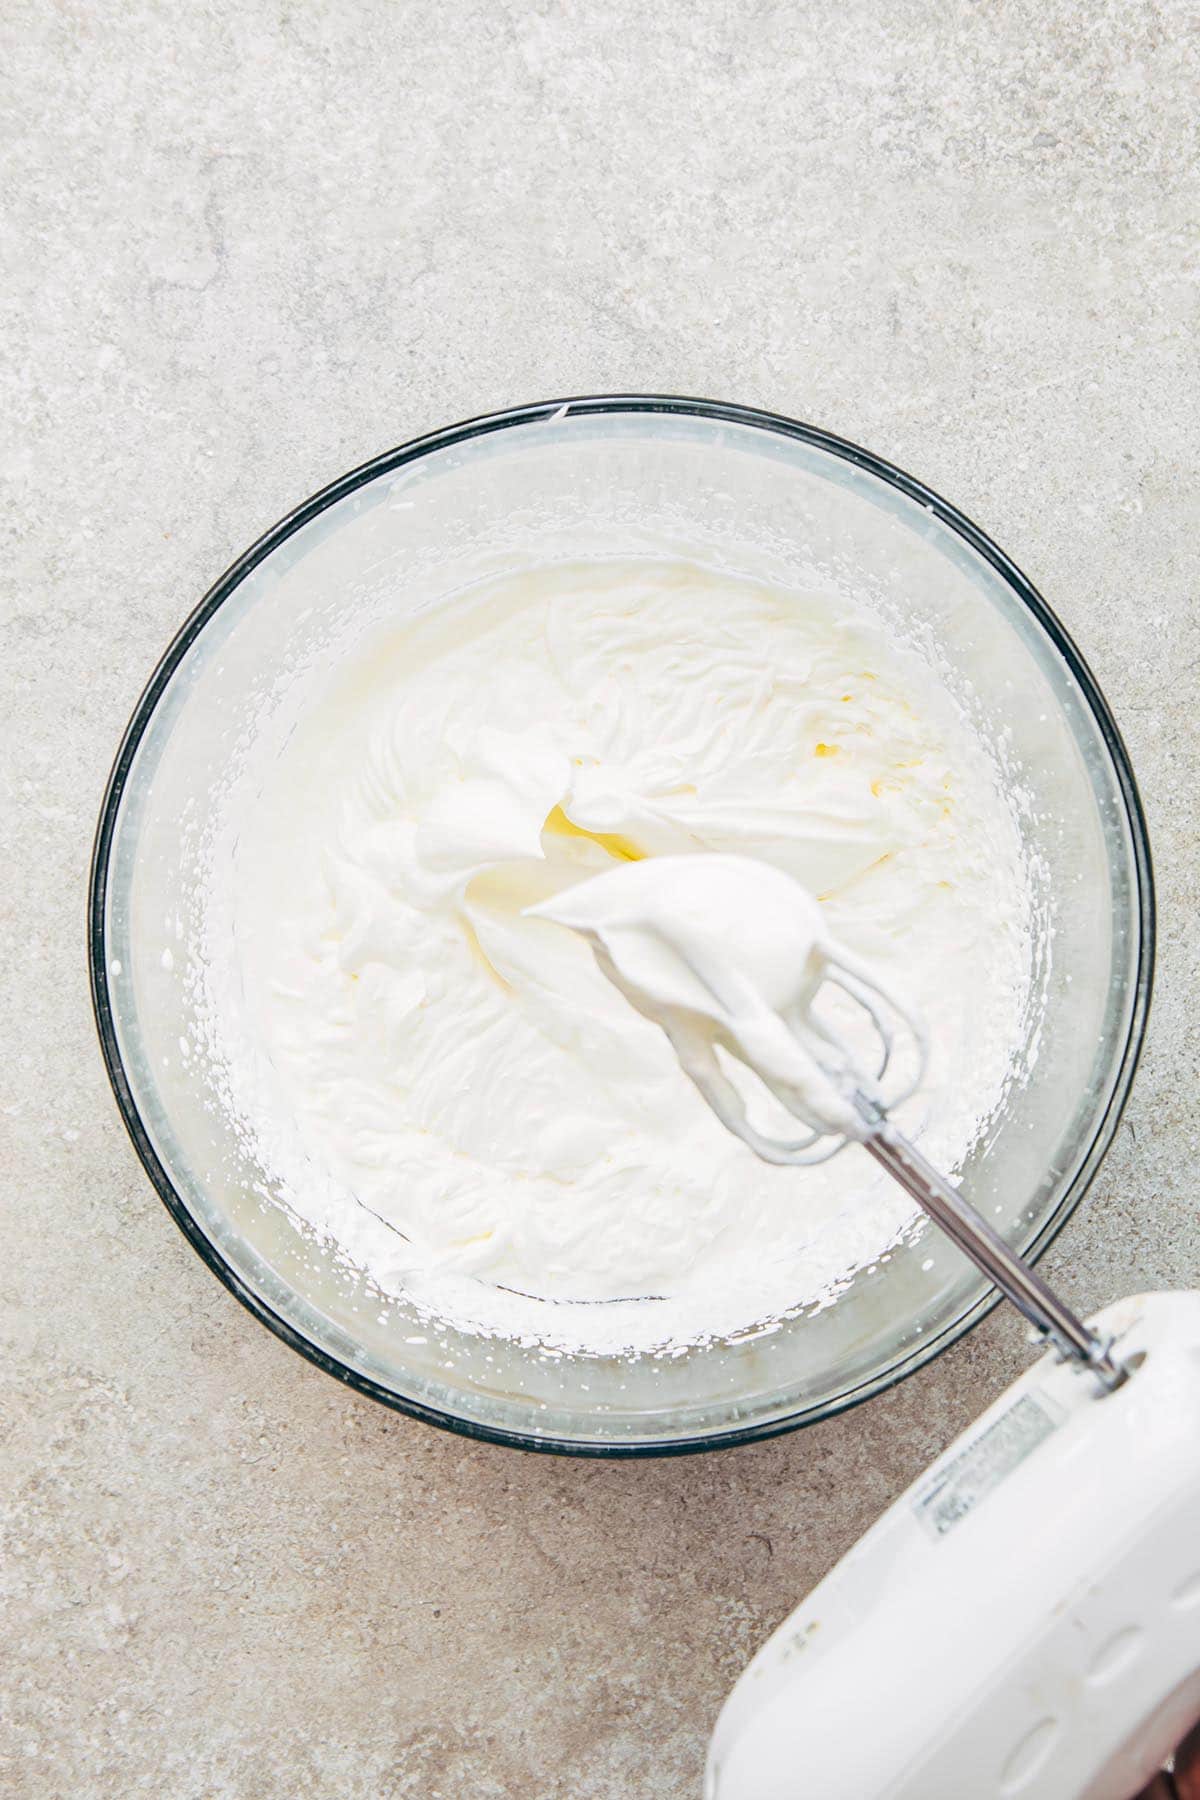
    Add the cream to a large bowl, or the bowl of a stand mixer. Using a hand mixer, or a whisk attachment, whip the cream to medium-stiff peaks. When scooped up on the end of the mixer attachment(s), the cream should hold its shape like the picture below.
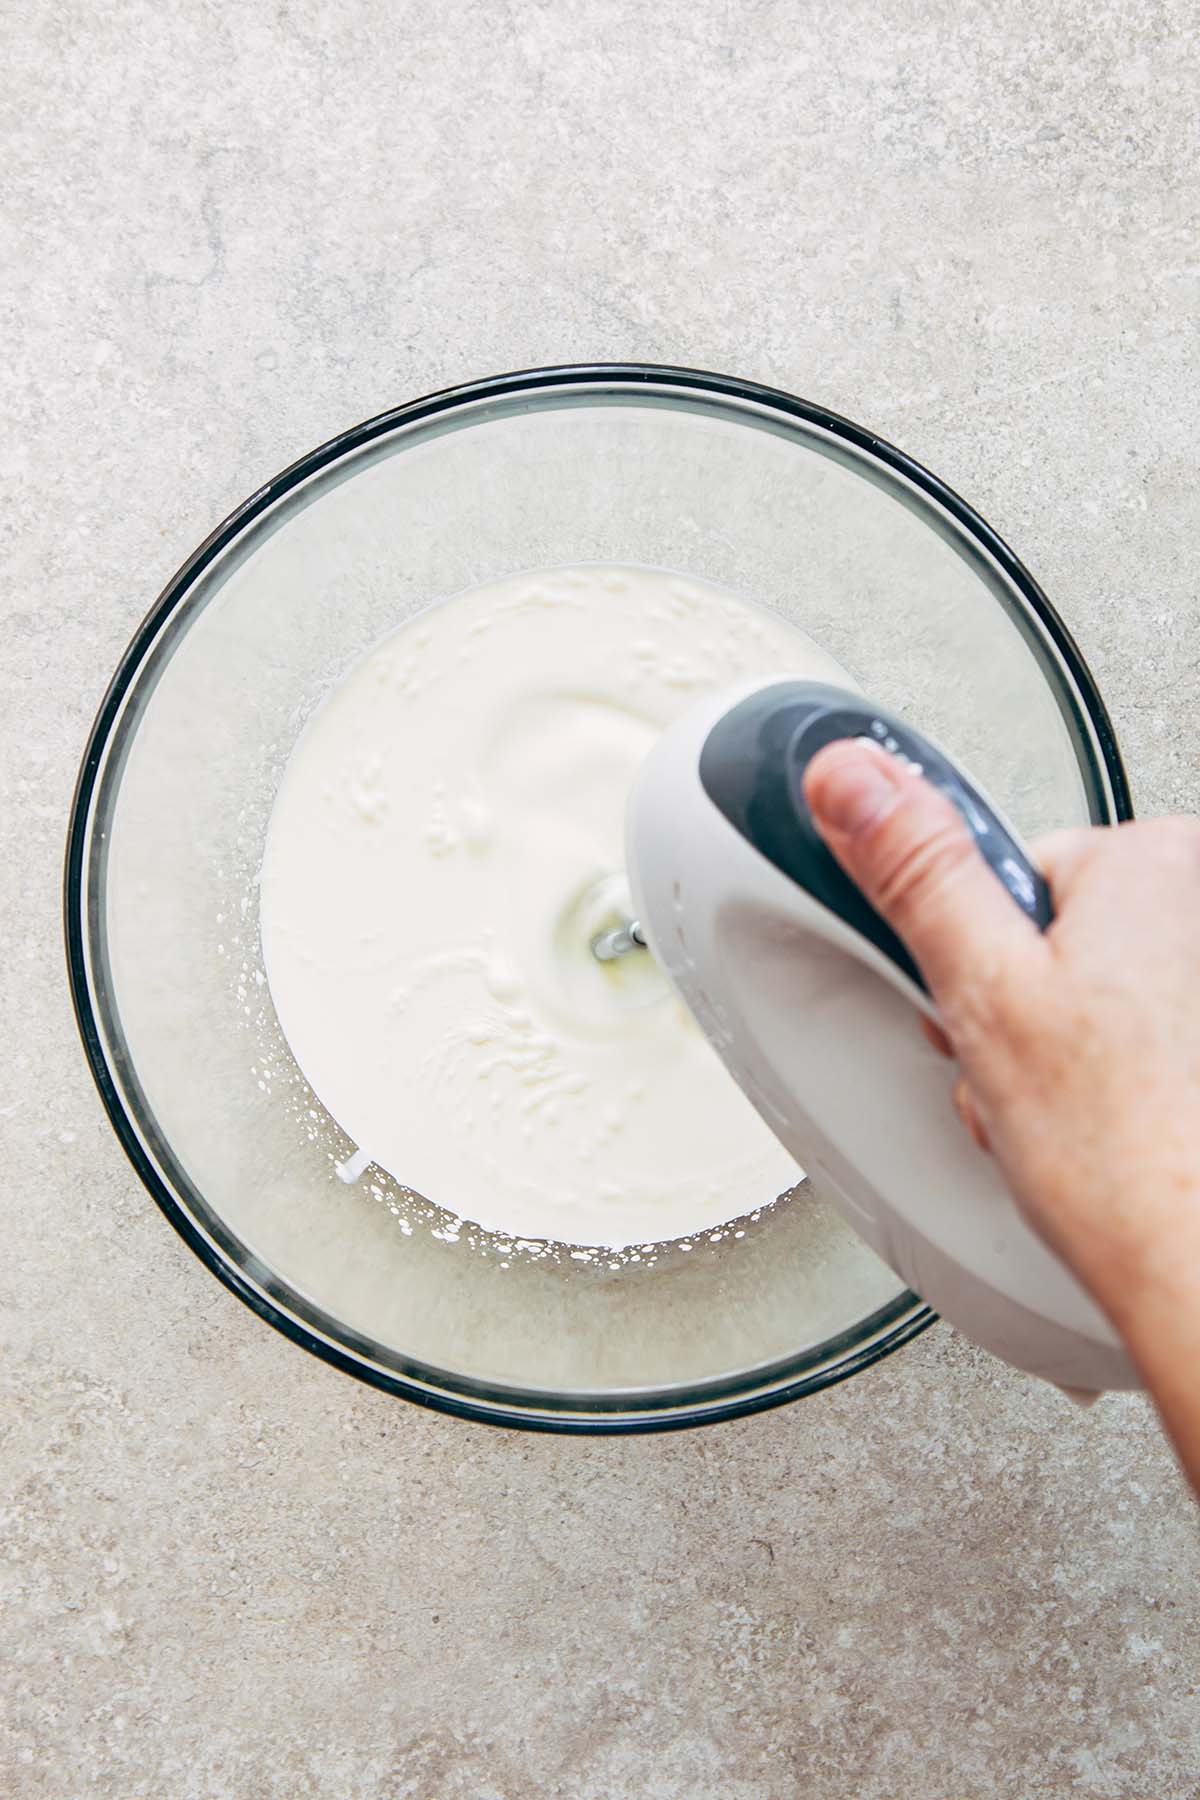
    A hand using a hand mixer to whip cream.
    A large glass bowl of whipped cream and the beaters of a hand mixer showing the stiffness of the cream.

    Add the condensed mixture to the bowl of whipped cream.
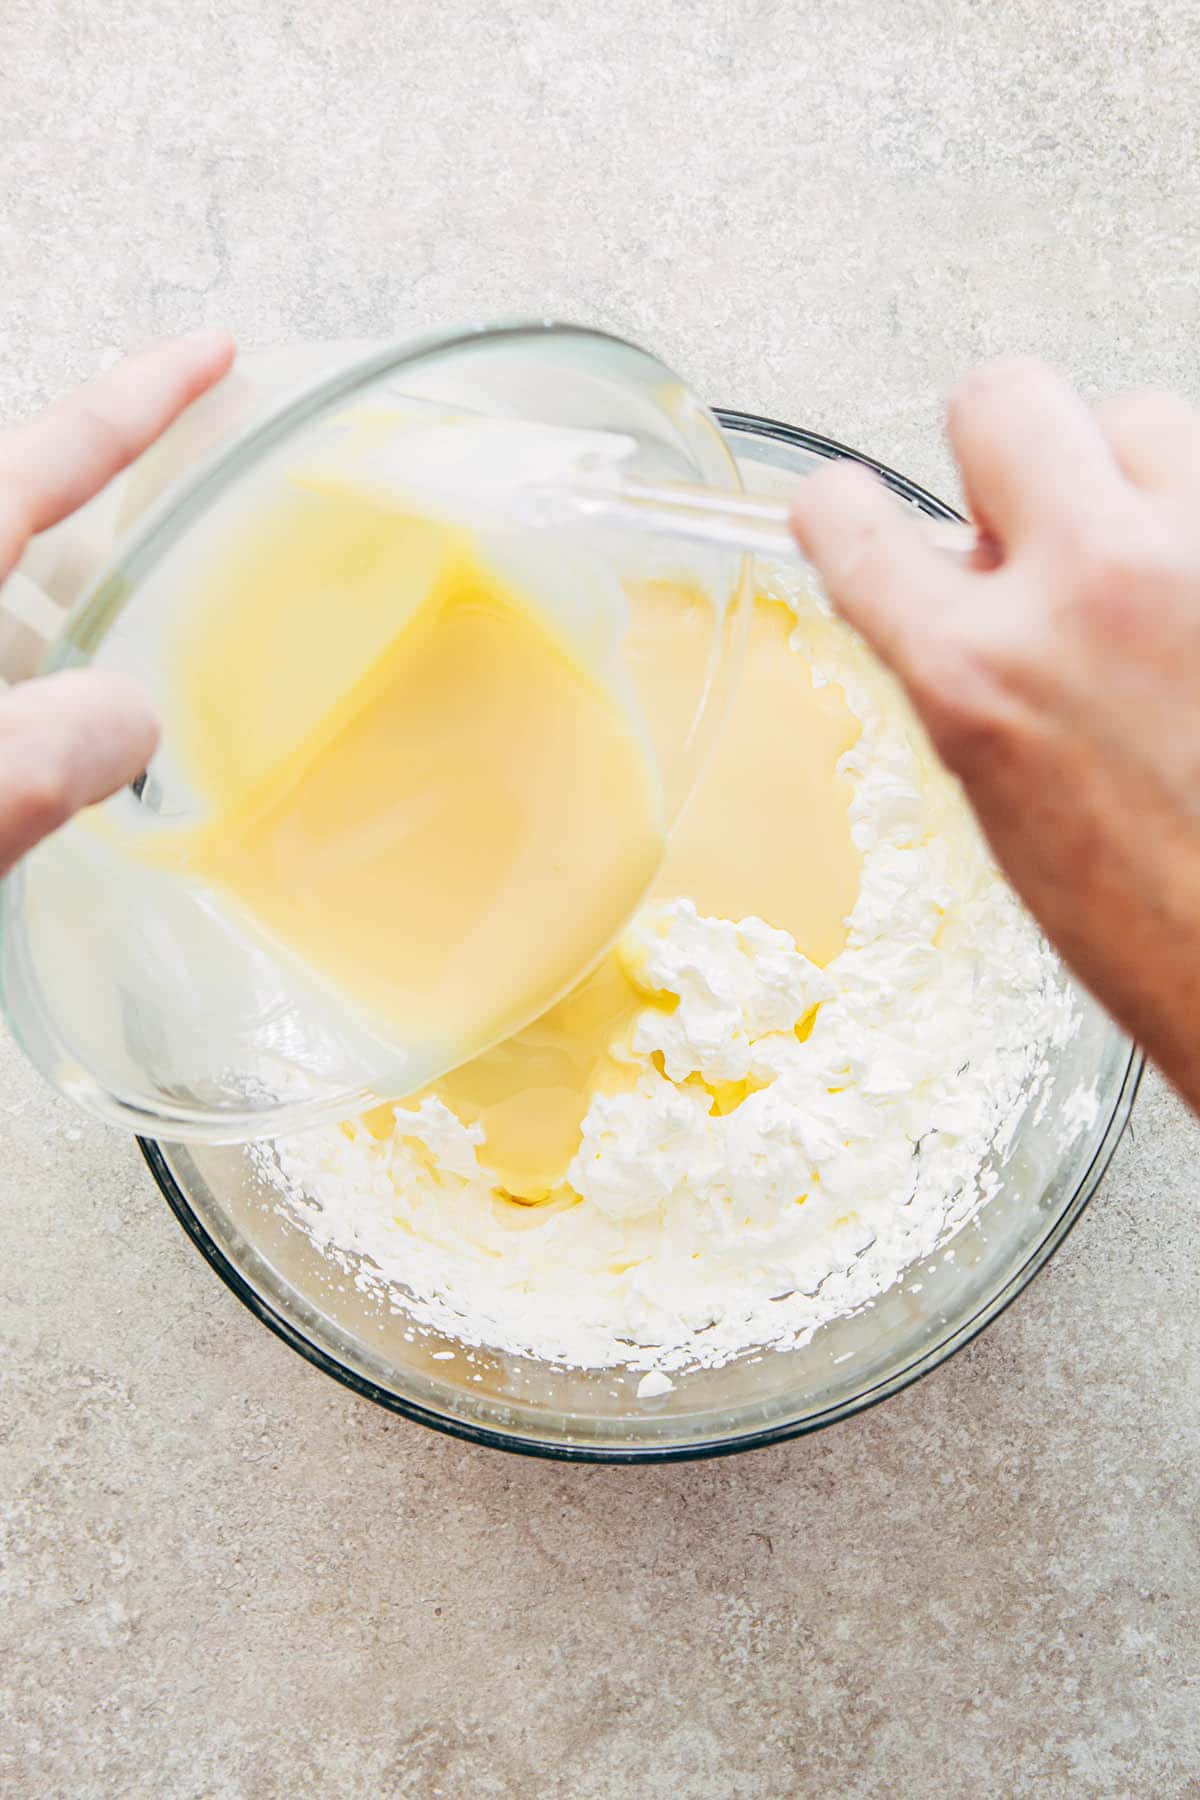
    A hand using a rubber spatula to scrape condensed milk from a glass bowl into a bowl of whipped cream.

    Using the mixer, whip everything together until the cream is light and fluffy, and the condensed milk is well combined.
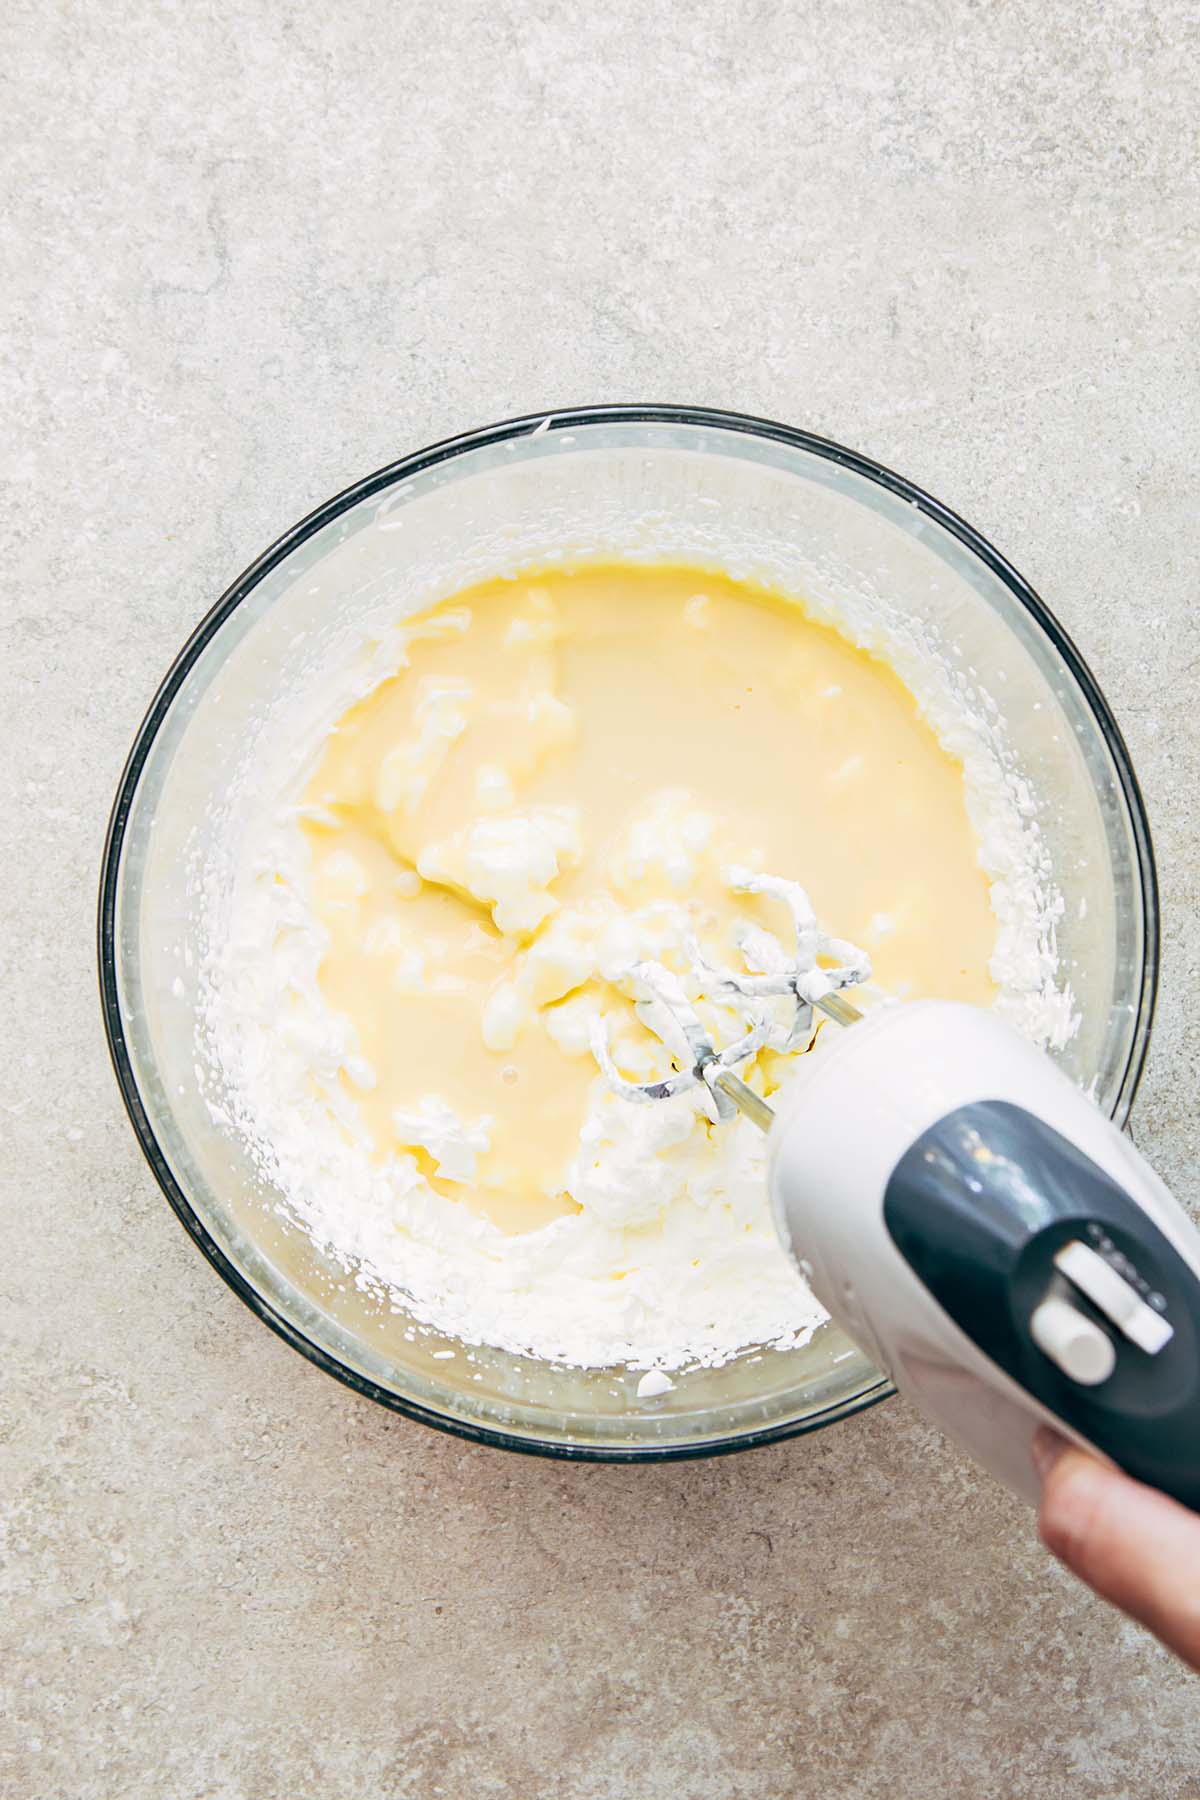
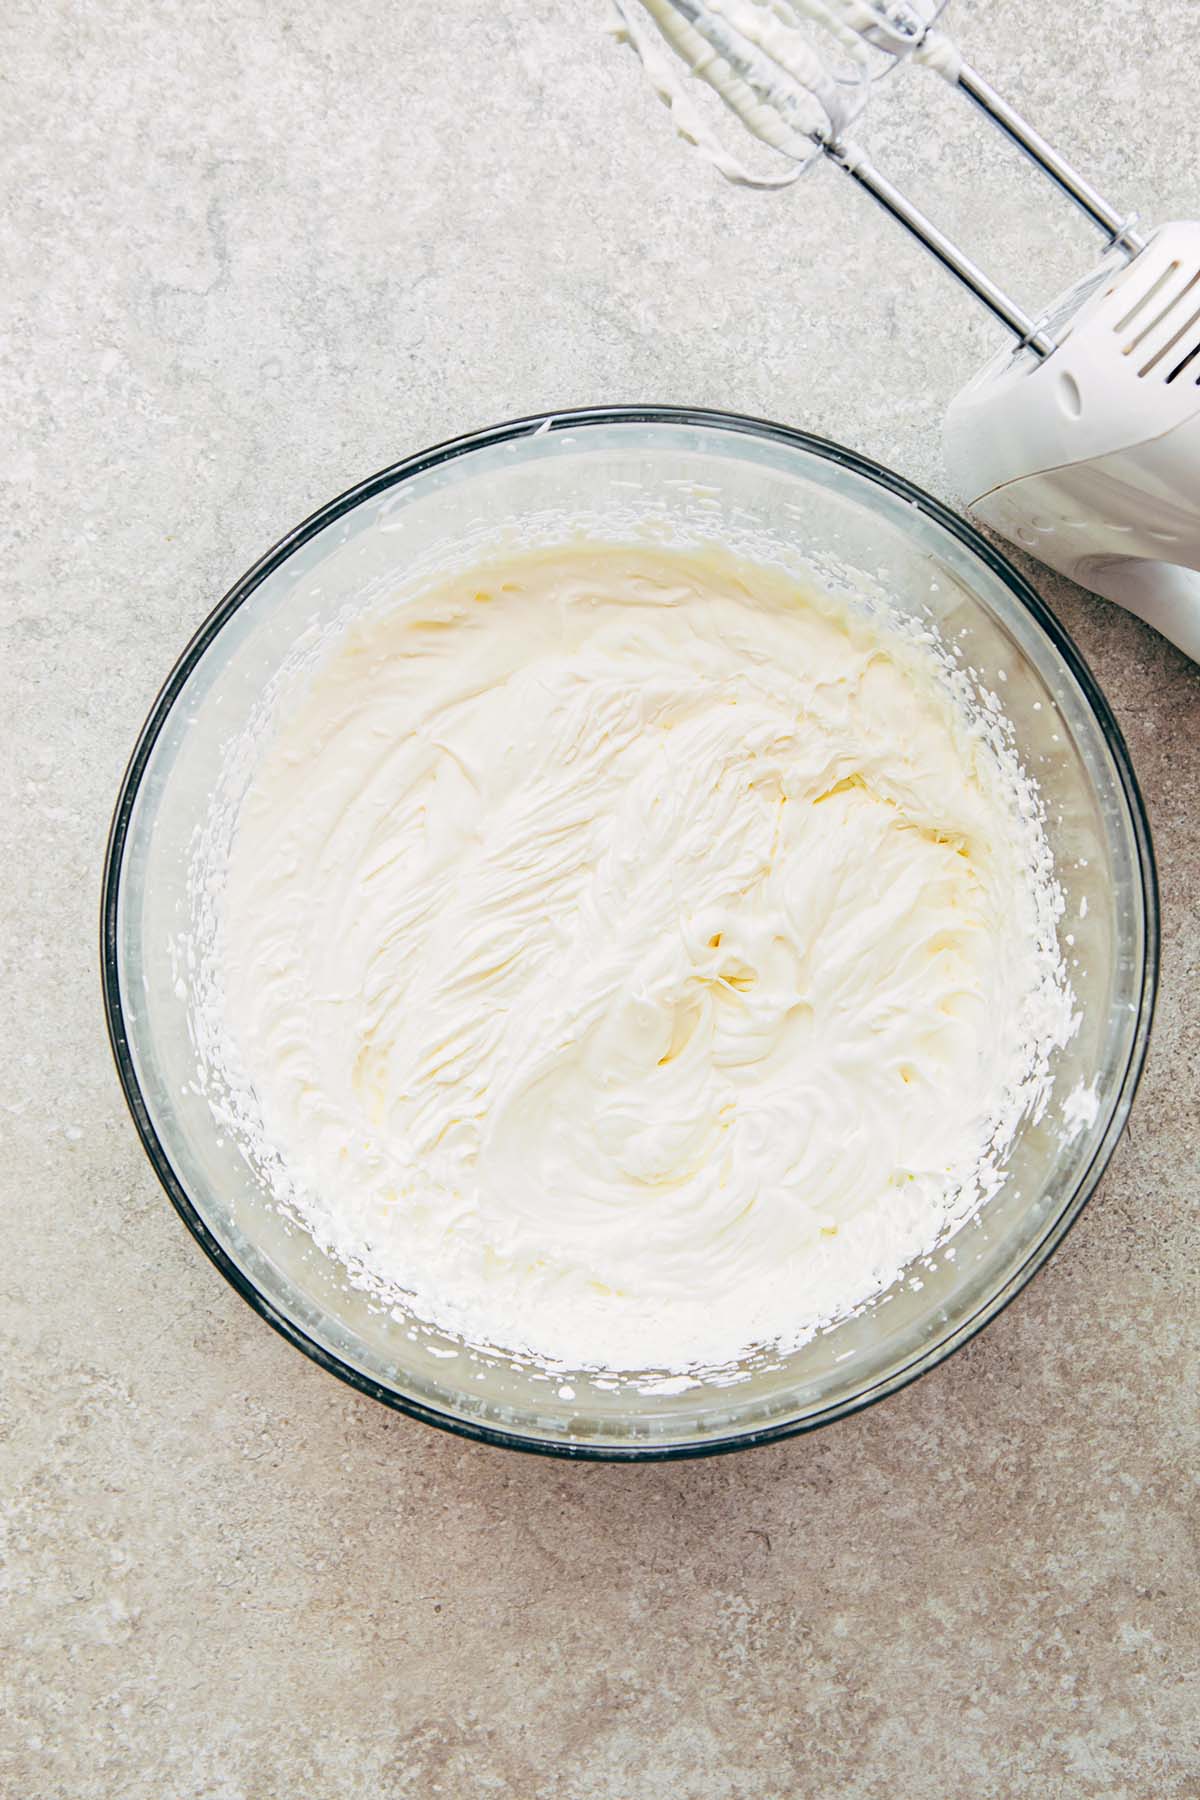
    A hand mixer mixing cream and condensed milk together in a large glass bowl.
    A large glass bowl of whipped cream.

    Dollop one third of the whipped cream into the bottom of the parchment-lined loaf tin.
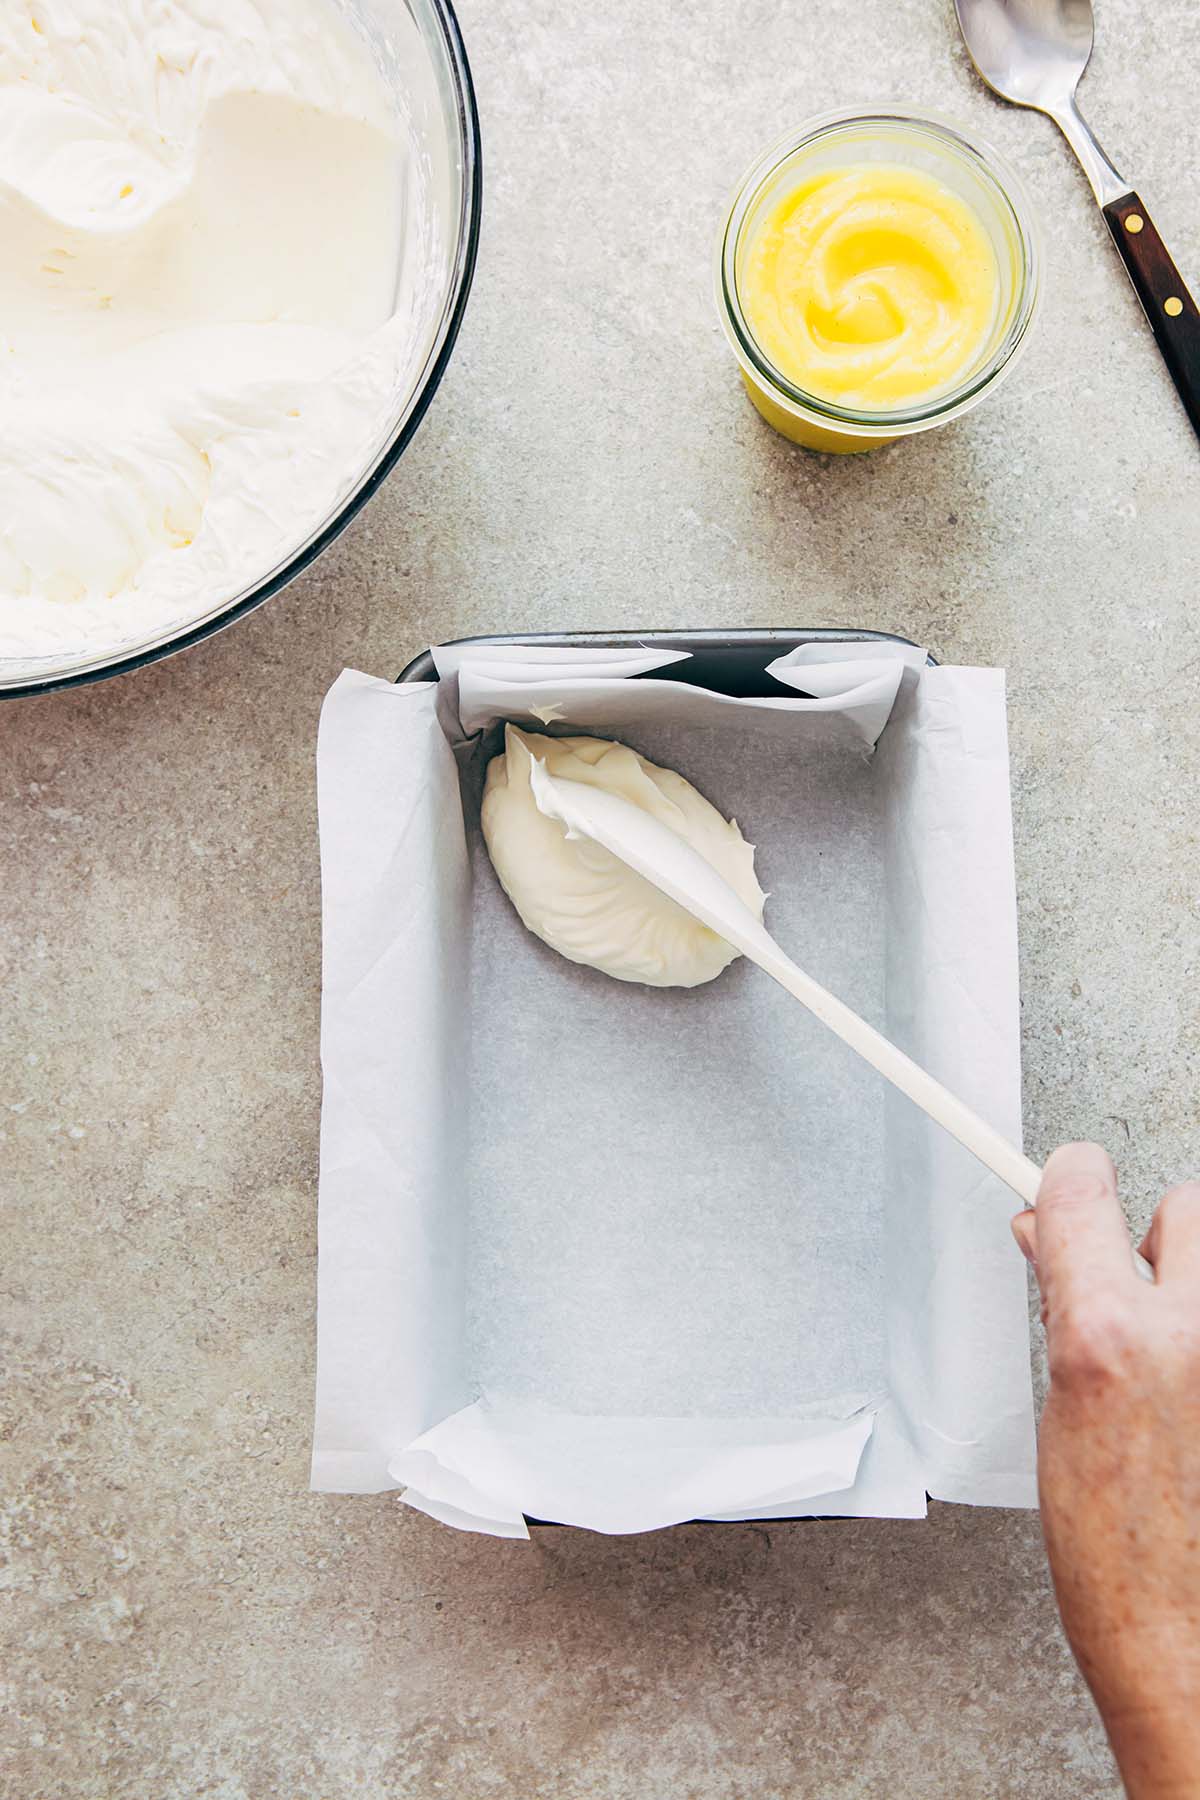
    A hand dolloping whipped cream into a loaf tin lined with parchment paper.

    Spread the cream evenly throughout the tin.

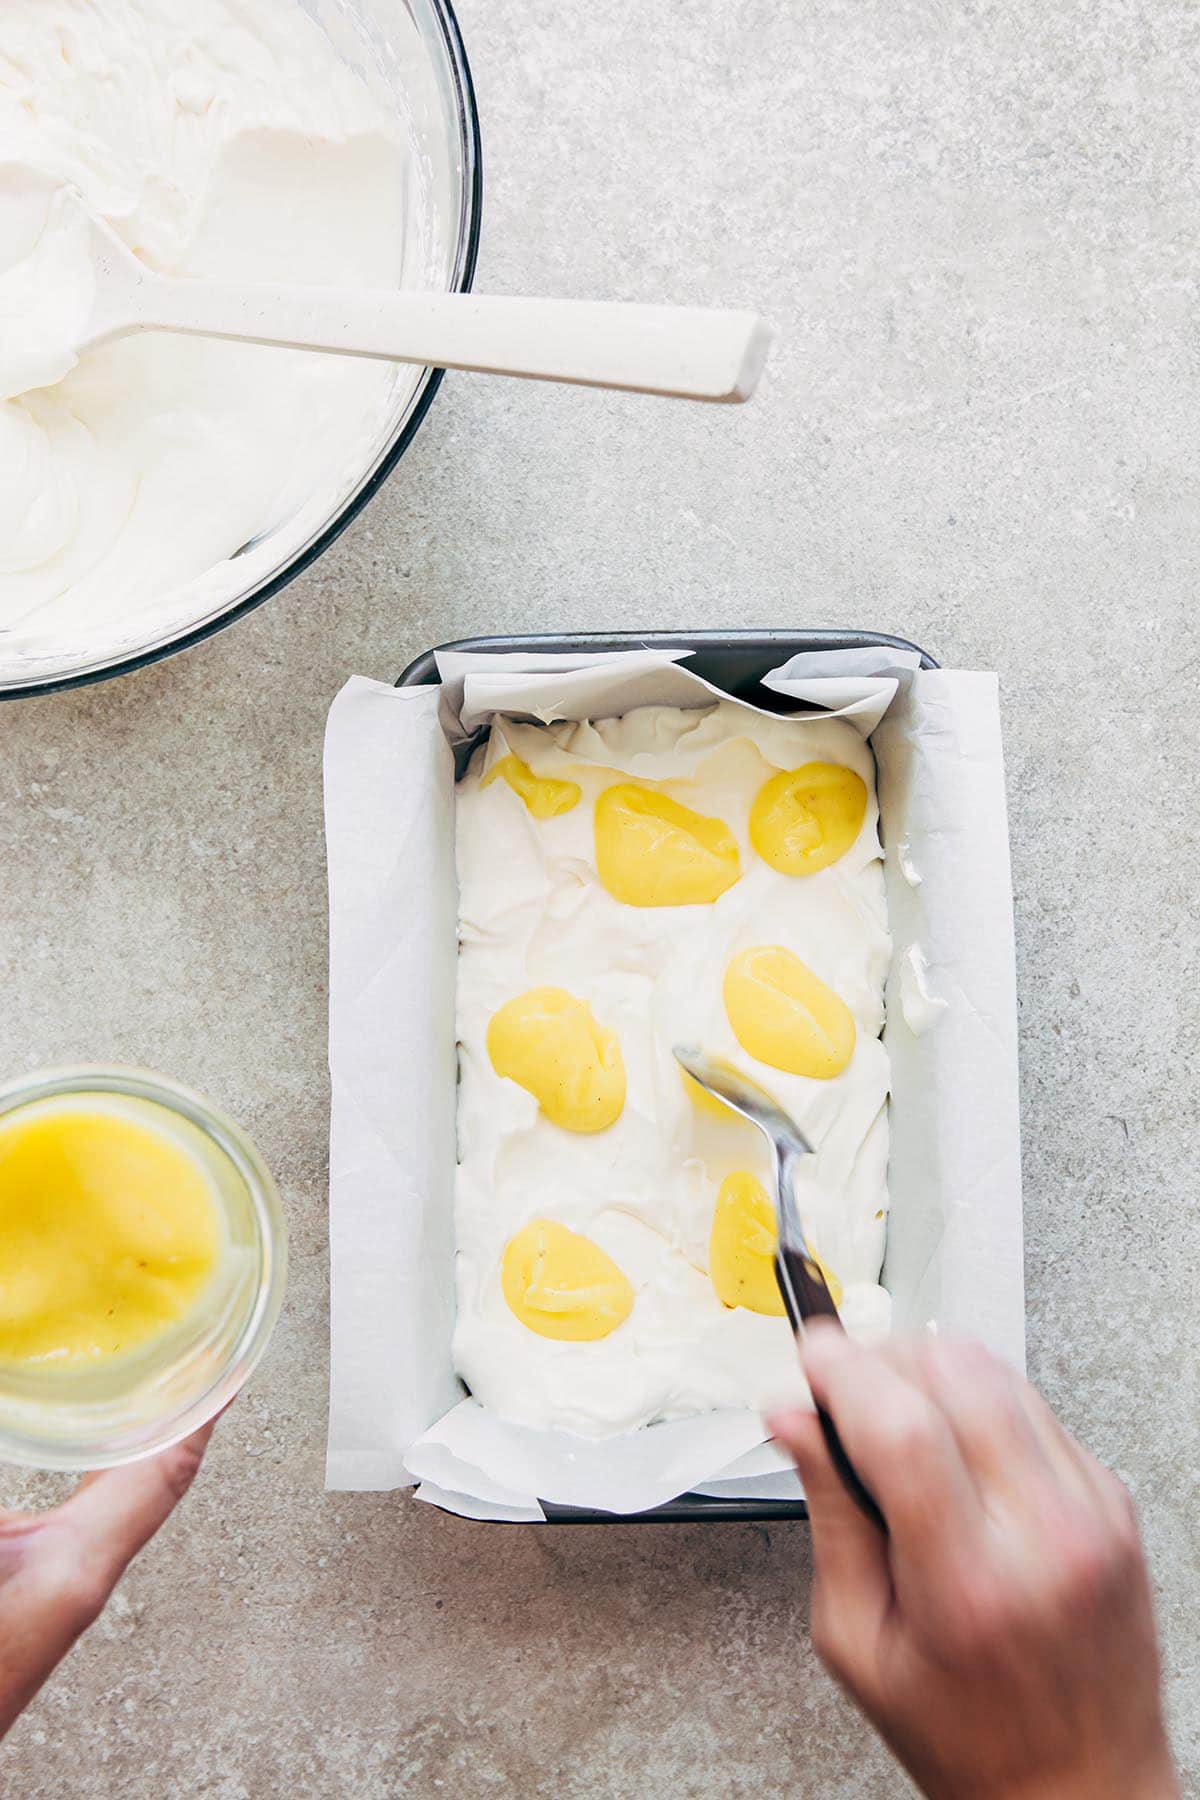
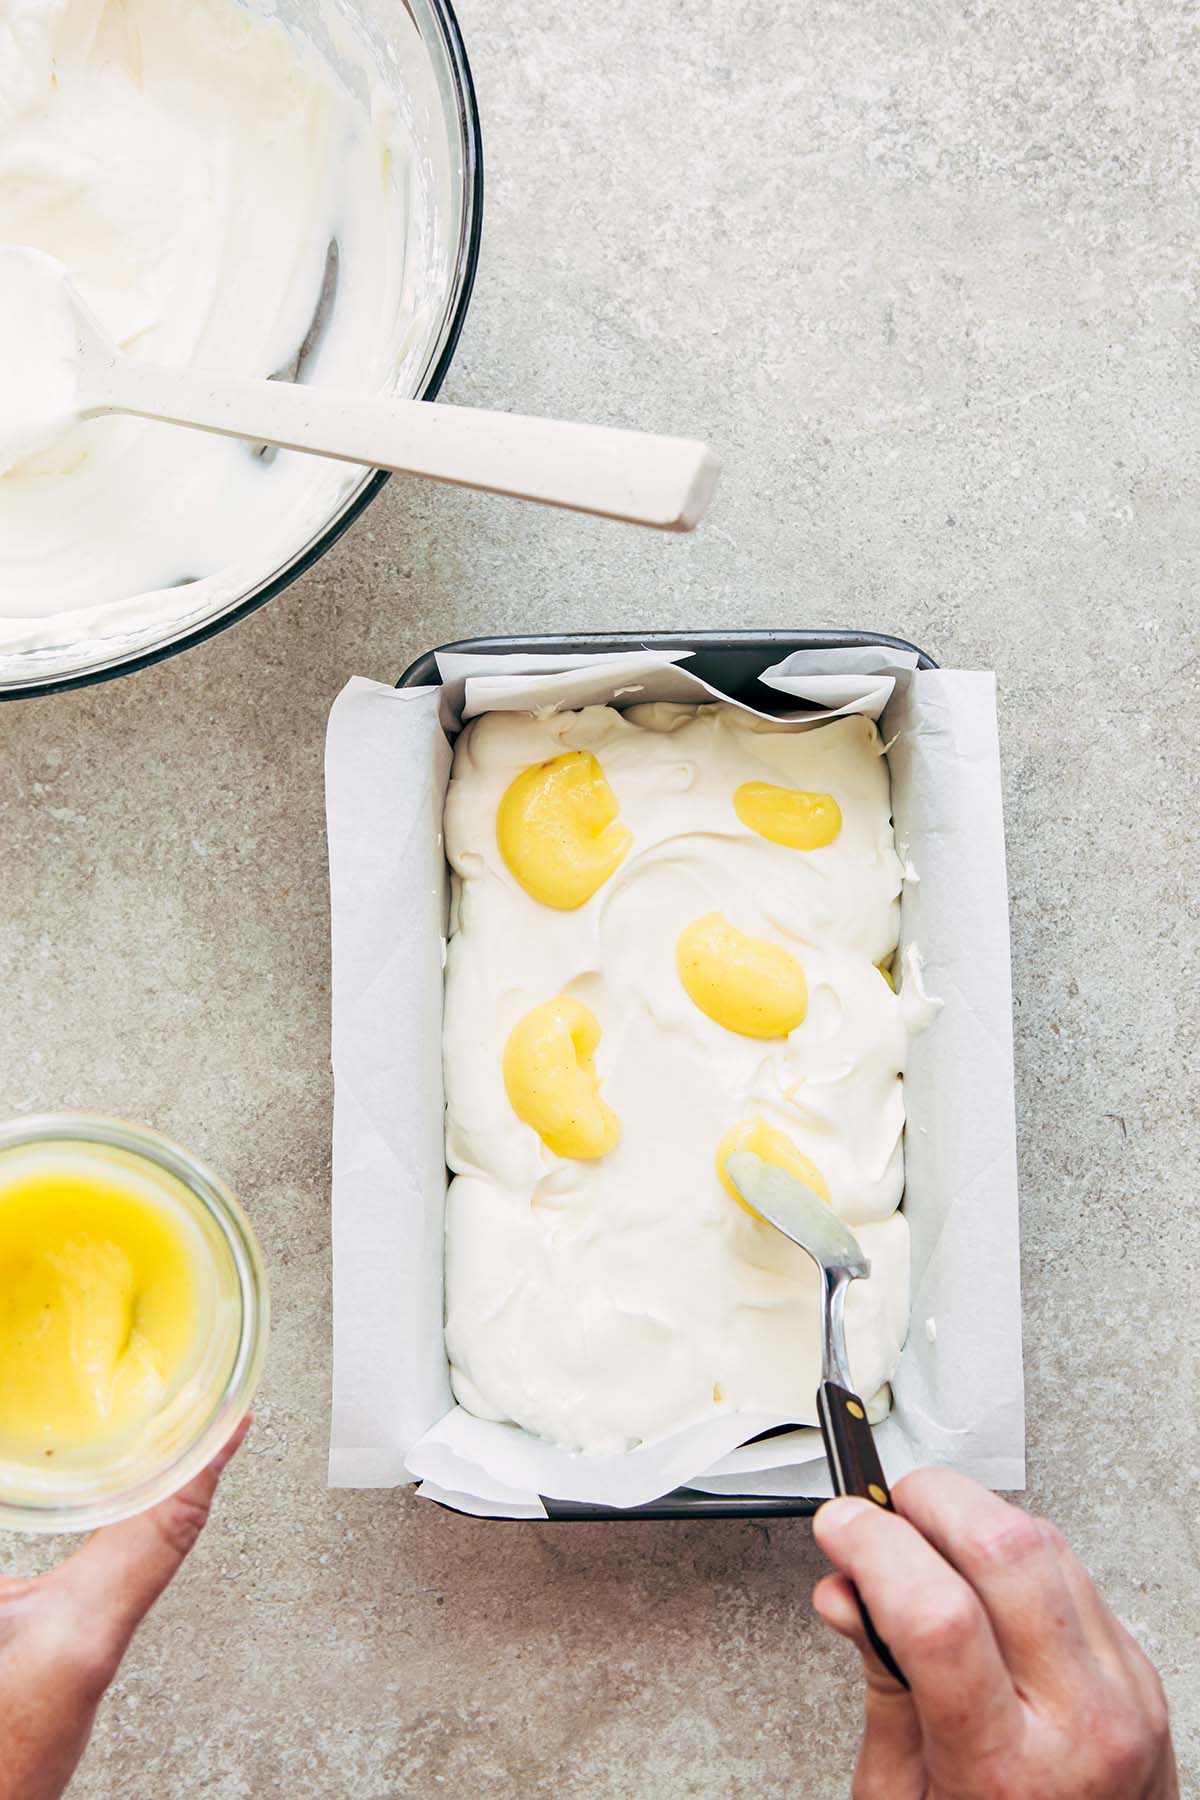
    Dollop one third of the lemon curd randomly over the top of the whipped cream.
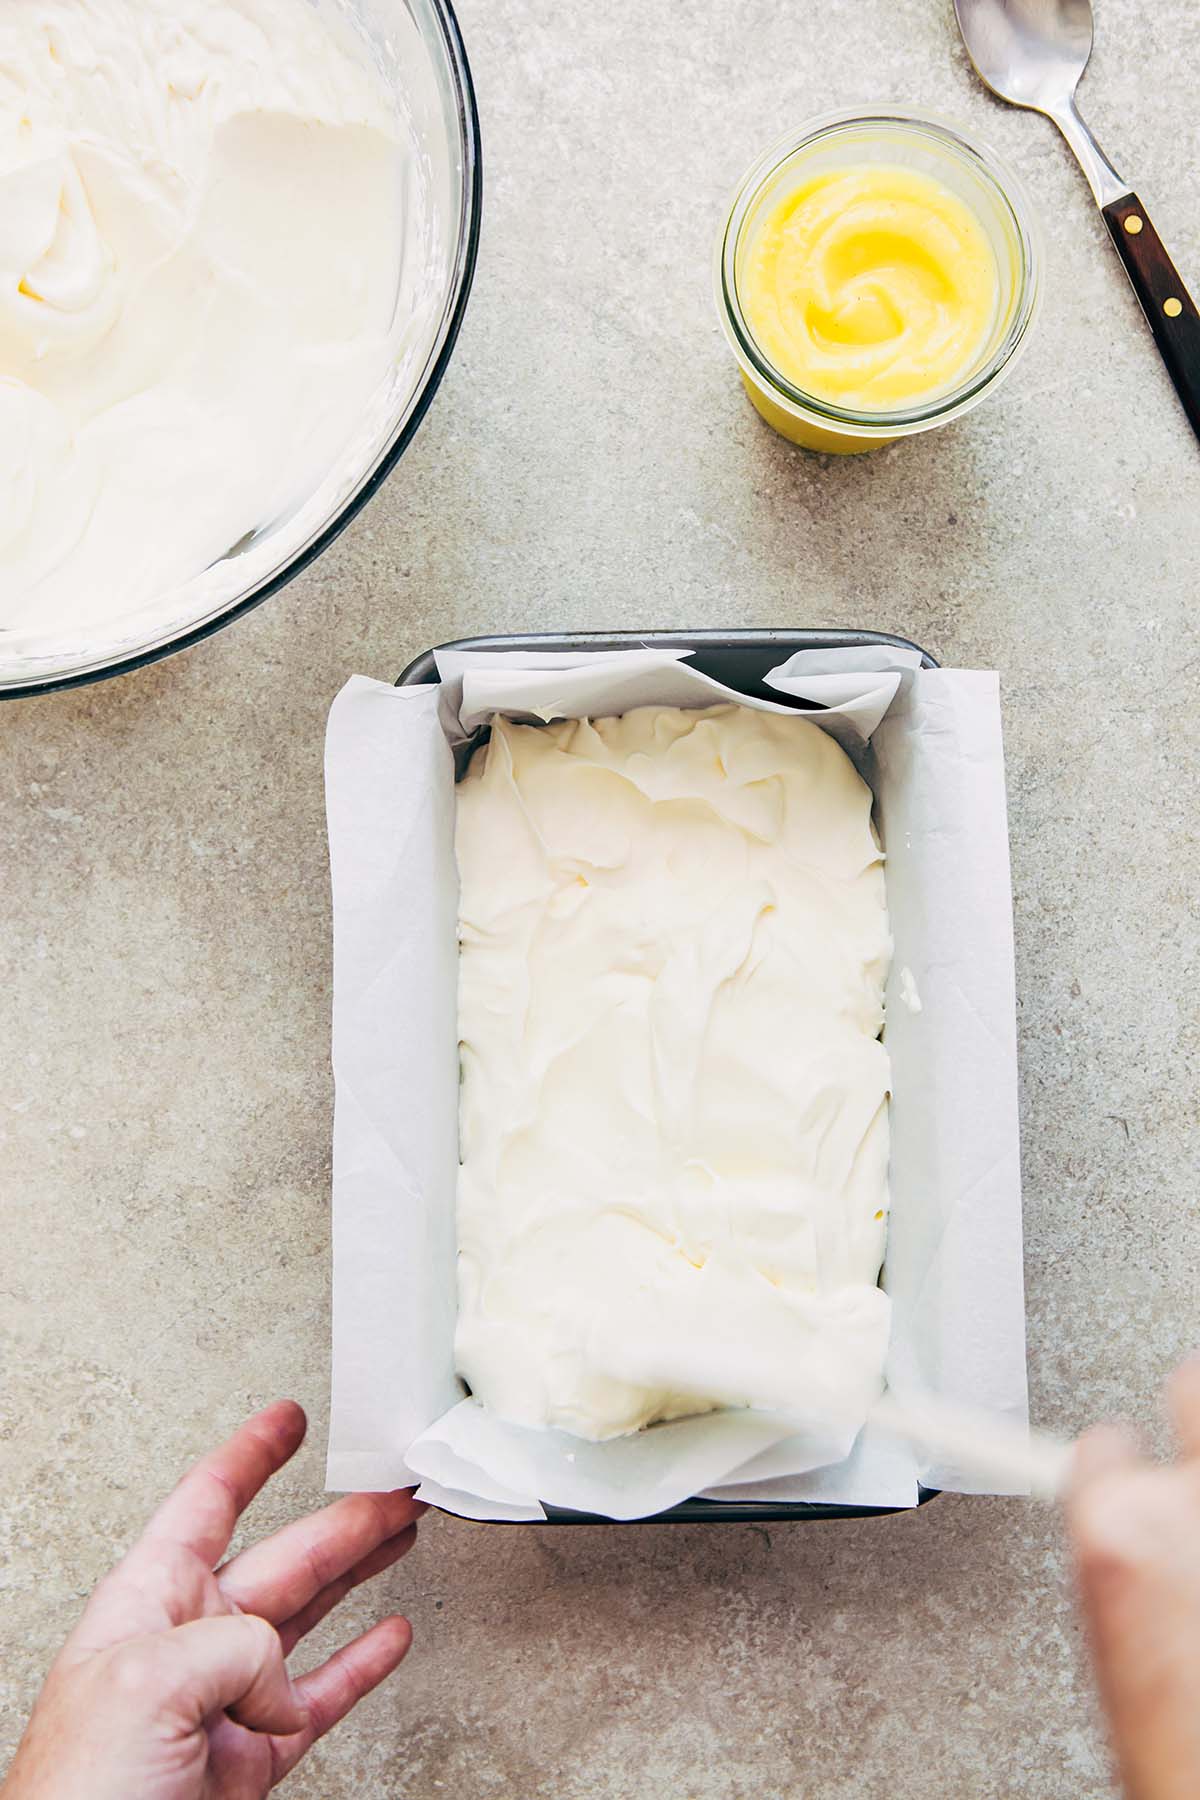
    A hand spreading whipped cream in a loaf tin.
    A hand dolloping lemon curd all over a loaf tin filled with whipped cream.

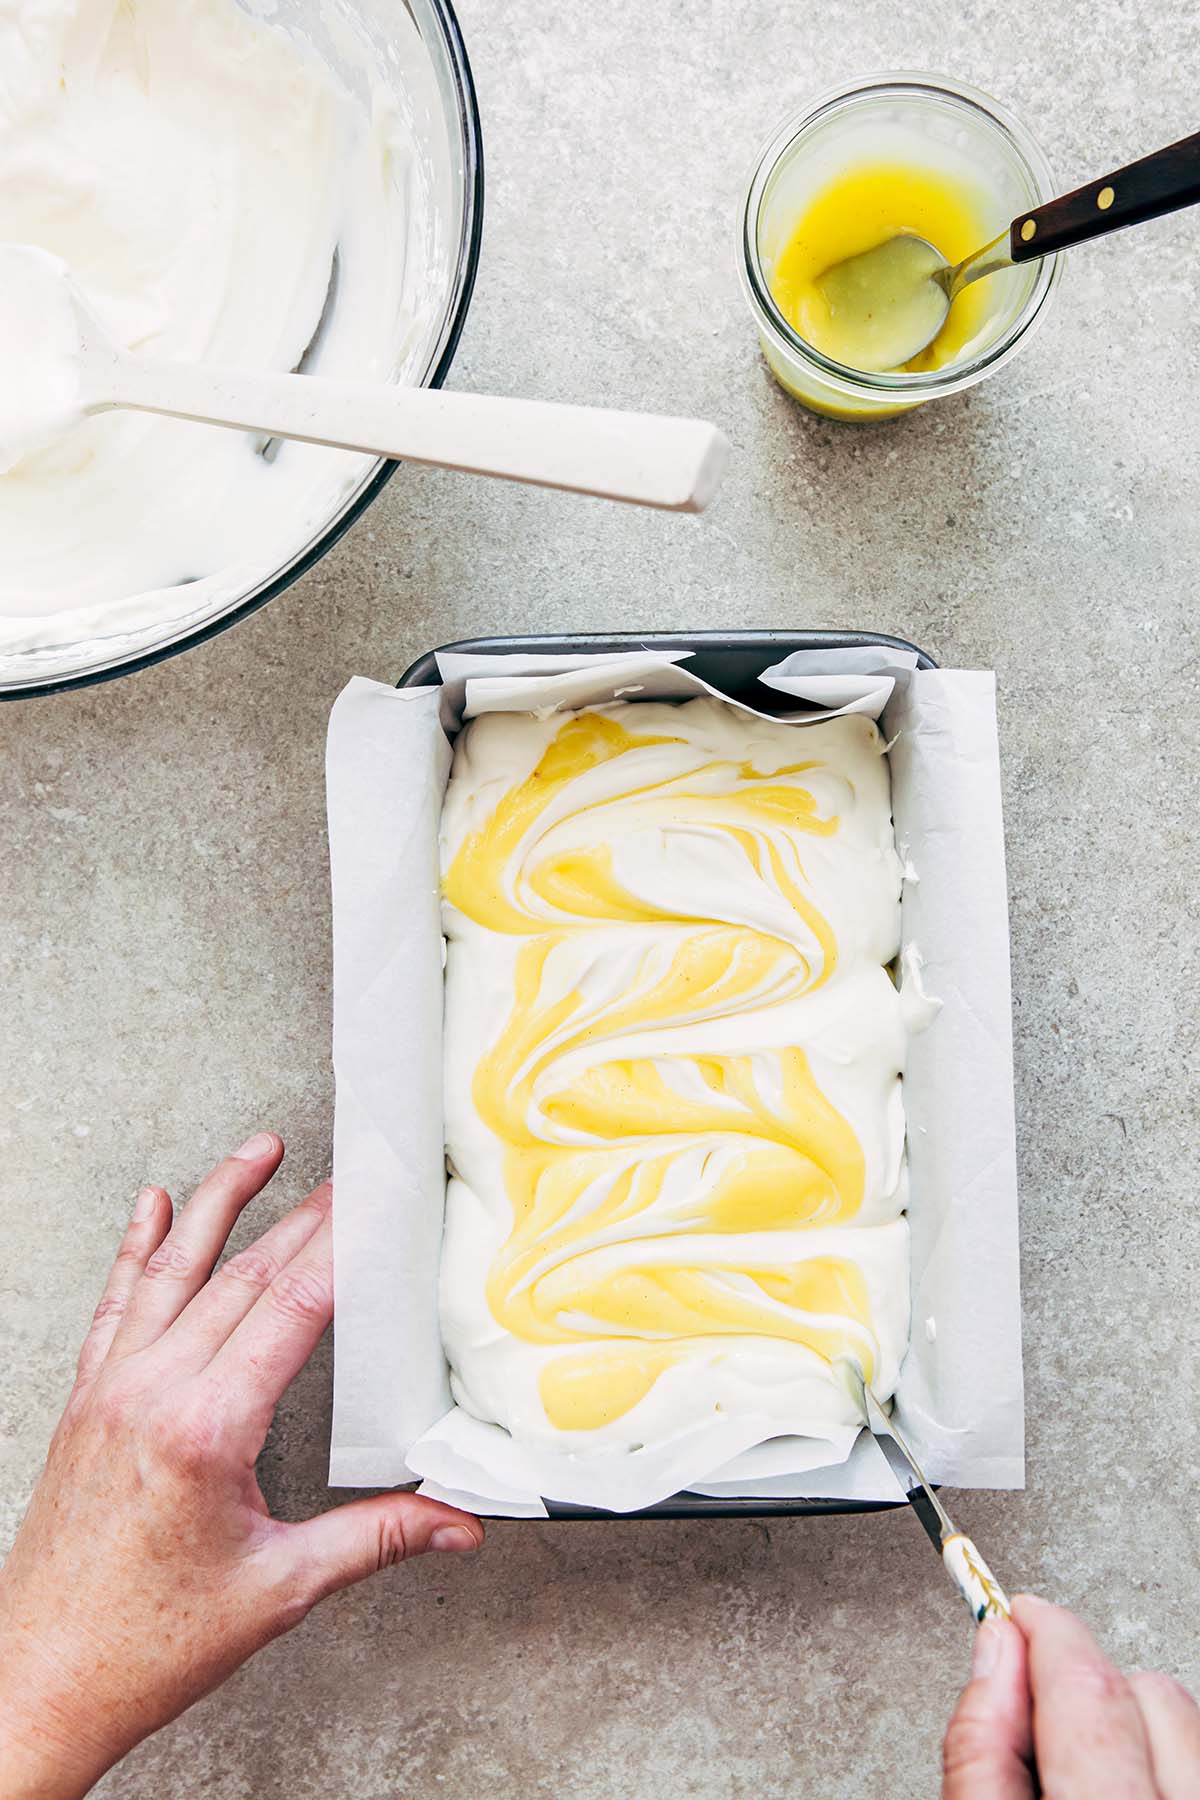
    Using the tip of a butter knife, swirl the lemon curd gently throughout the top of the cream.
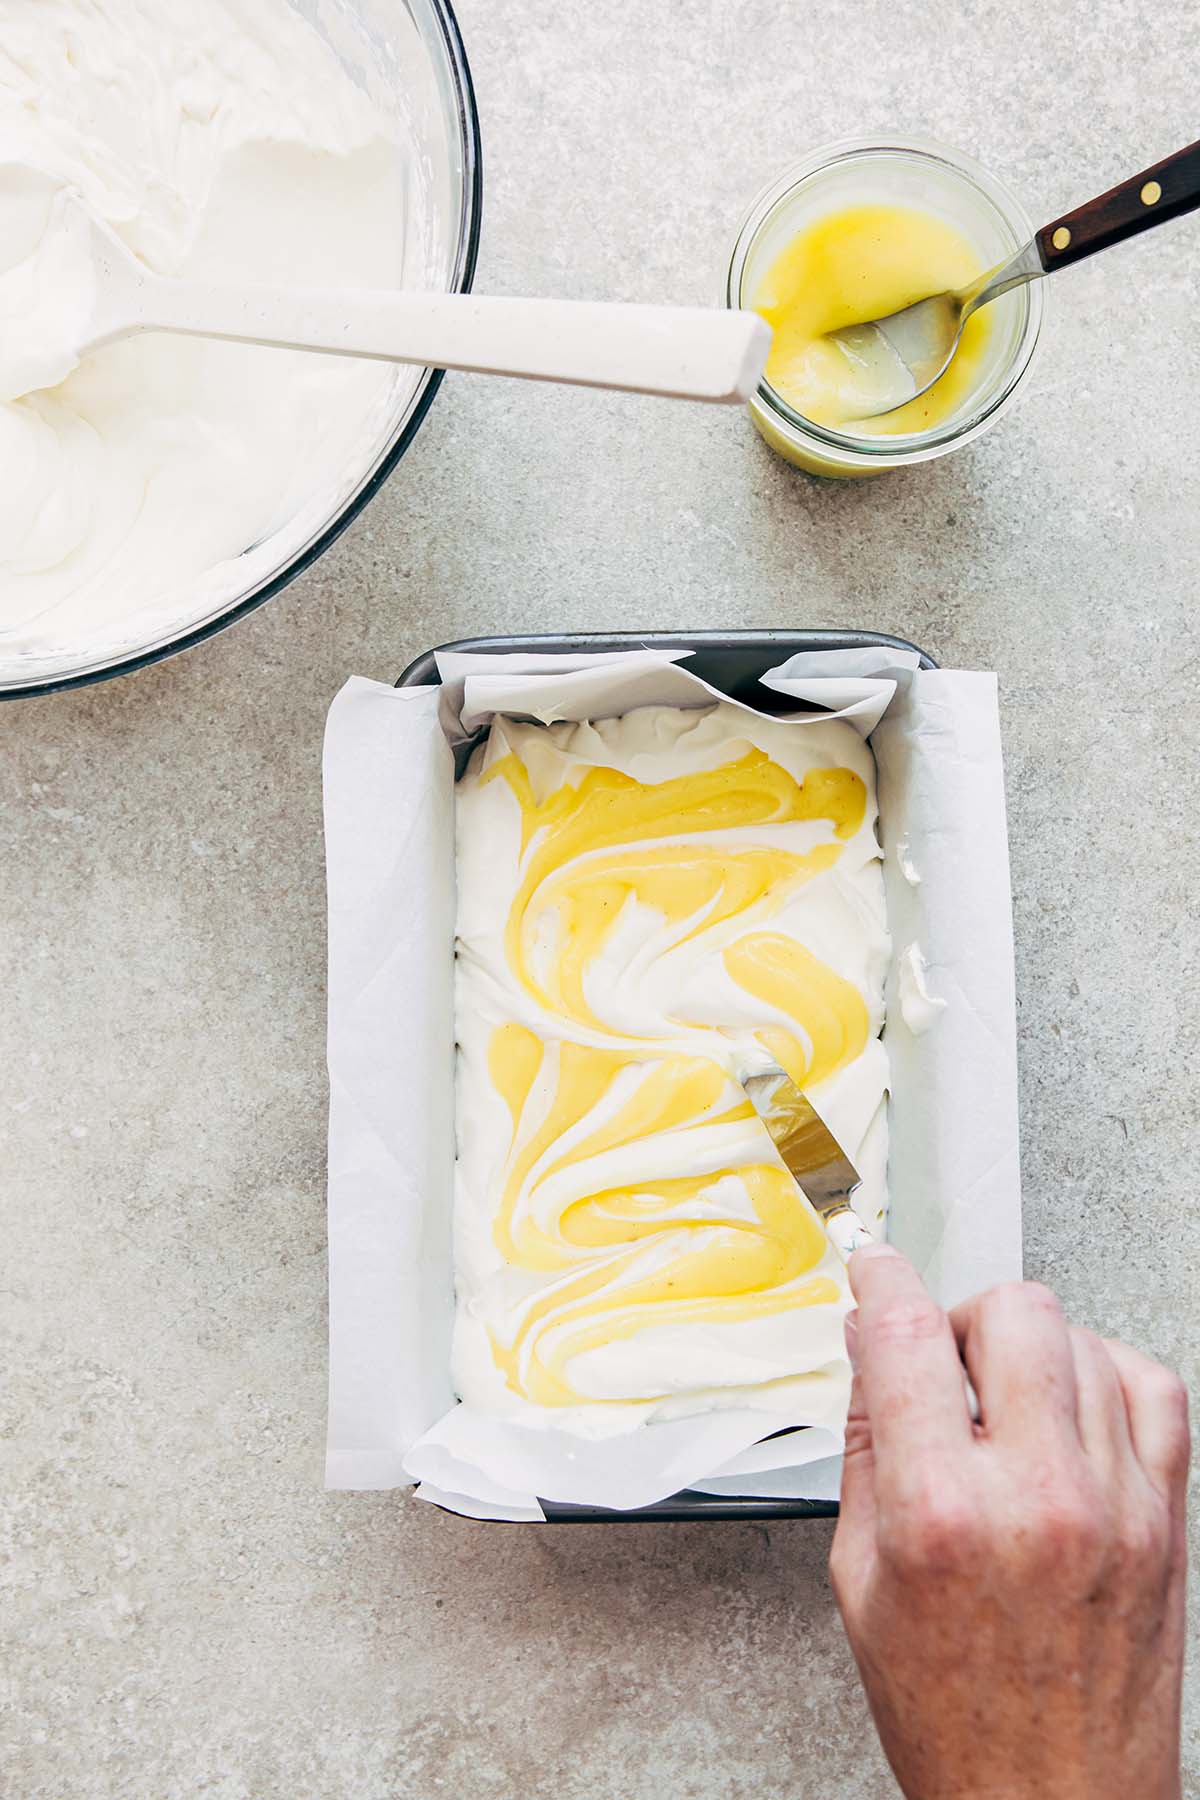
    A hand swirling lemon curd through a tin of no-churn ice cream.

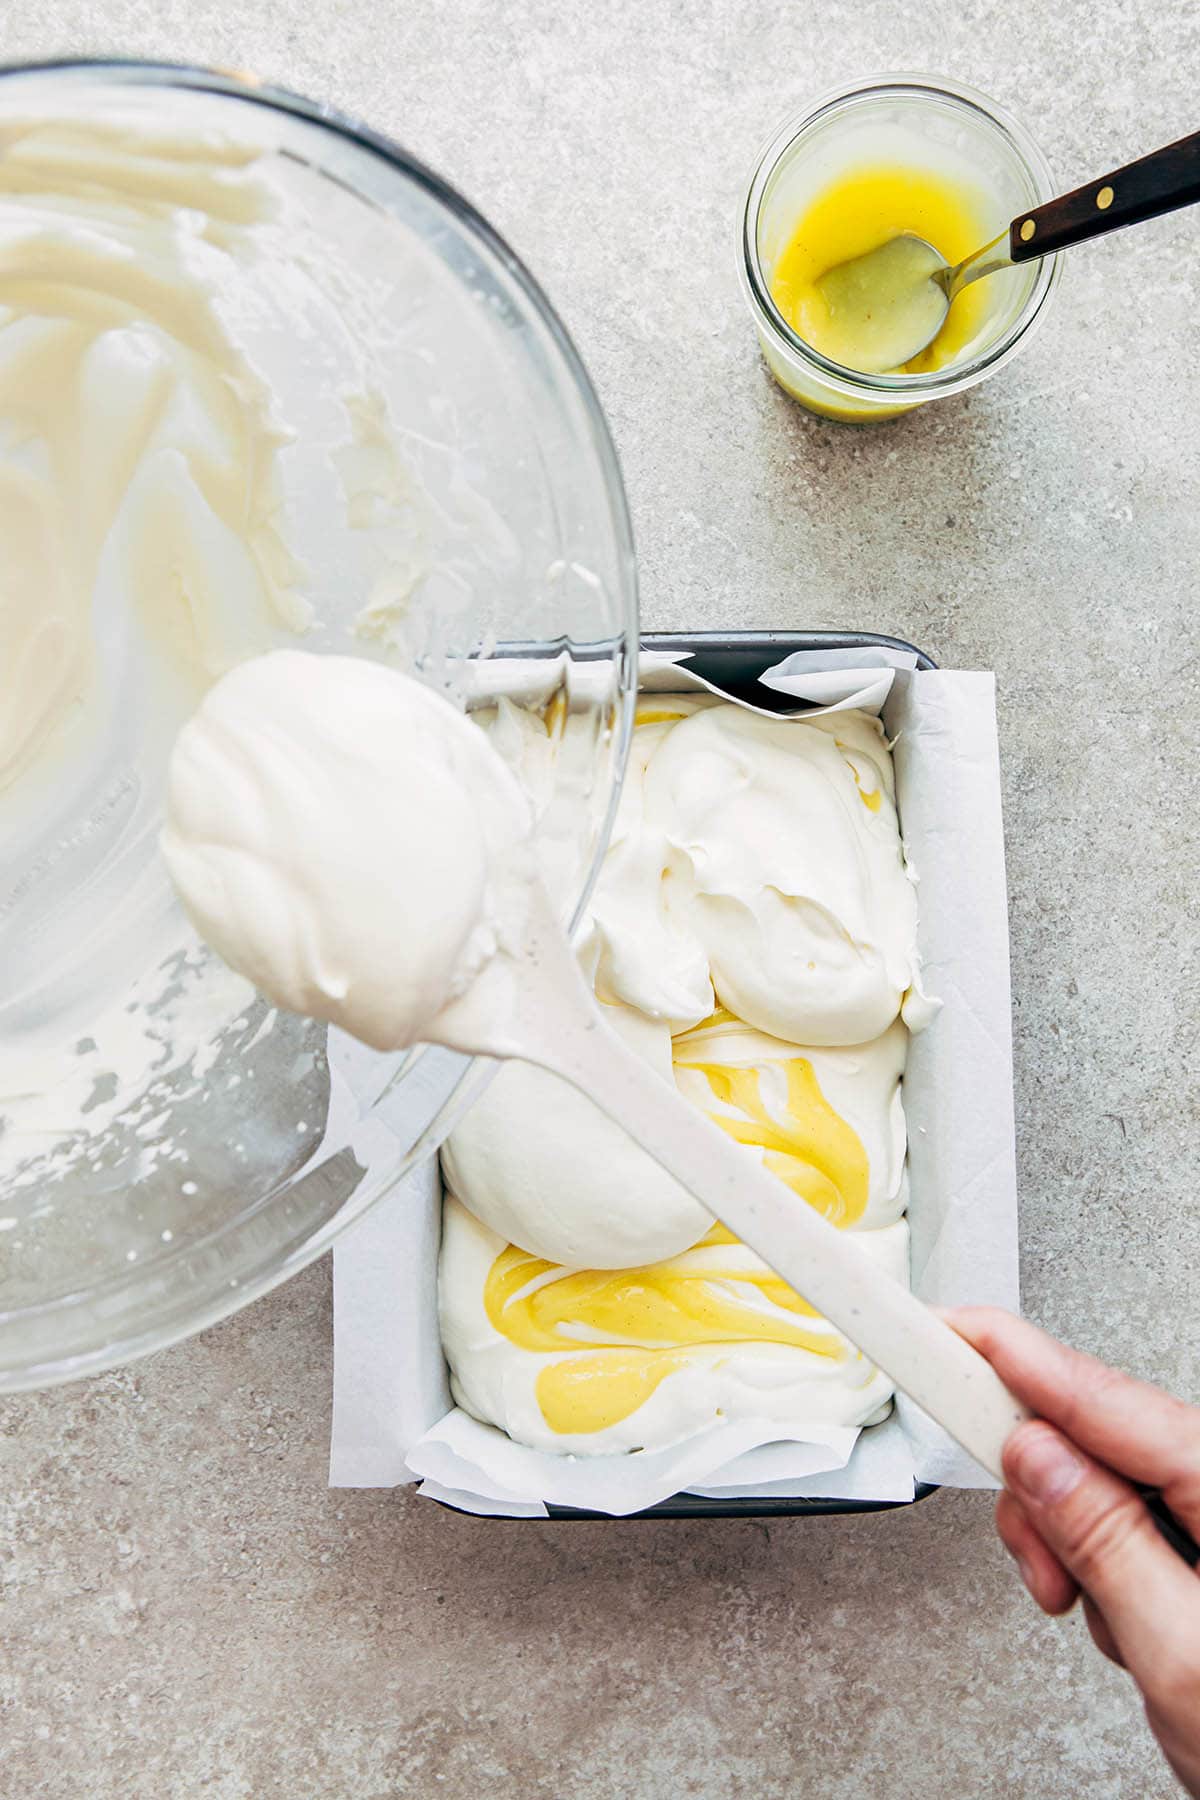
    Top the swirled lemon curd layer with another one third of the whipped cream. Repeat the process of dolloping a third of lemon curd on top and swirling it gently through.
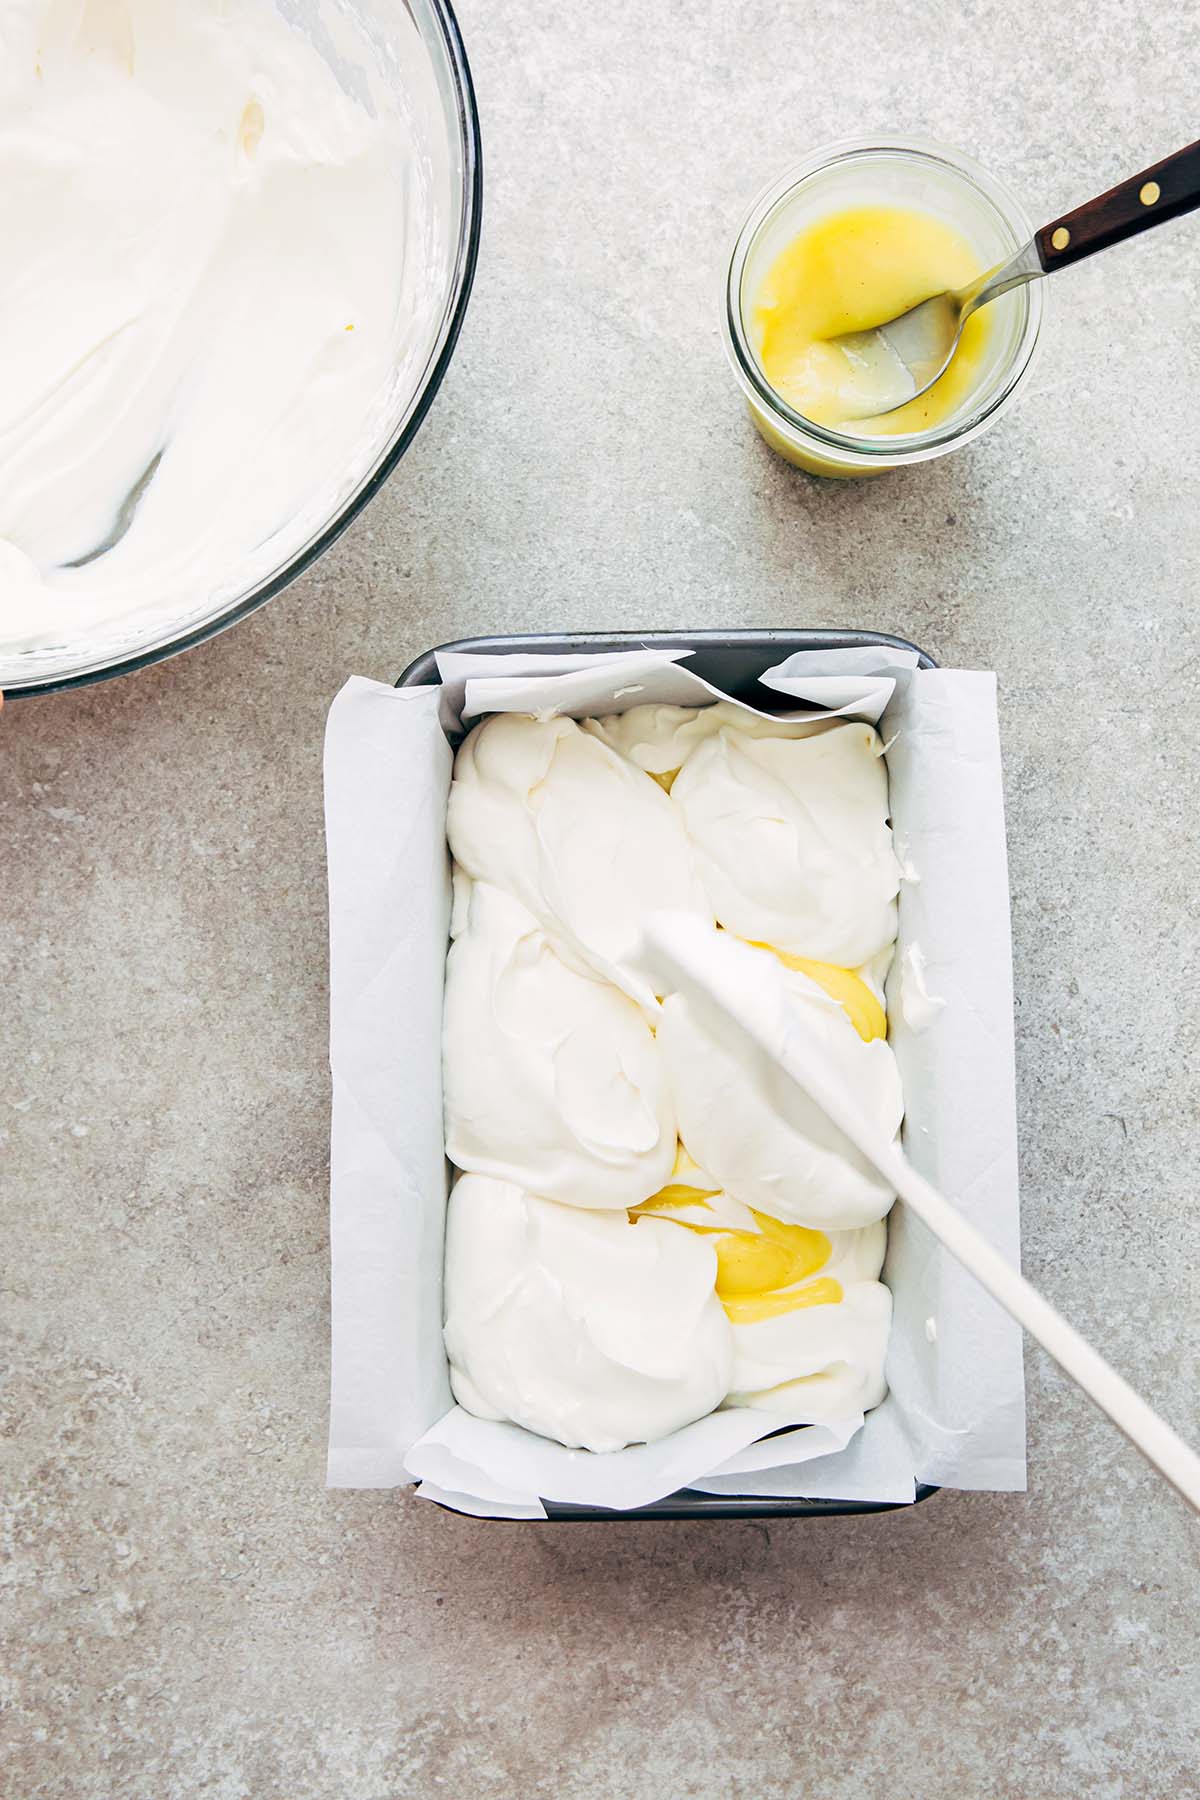
    A hand spooning whipped cream into a loaf tin.
    A hand spooning lemon curd into a pan of whipped cream.
    A hand swirling lemon curd through whipped cream with a butter knife.
    A hand spooning whipped cream into a tin of no-churn ice cream.

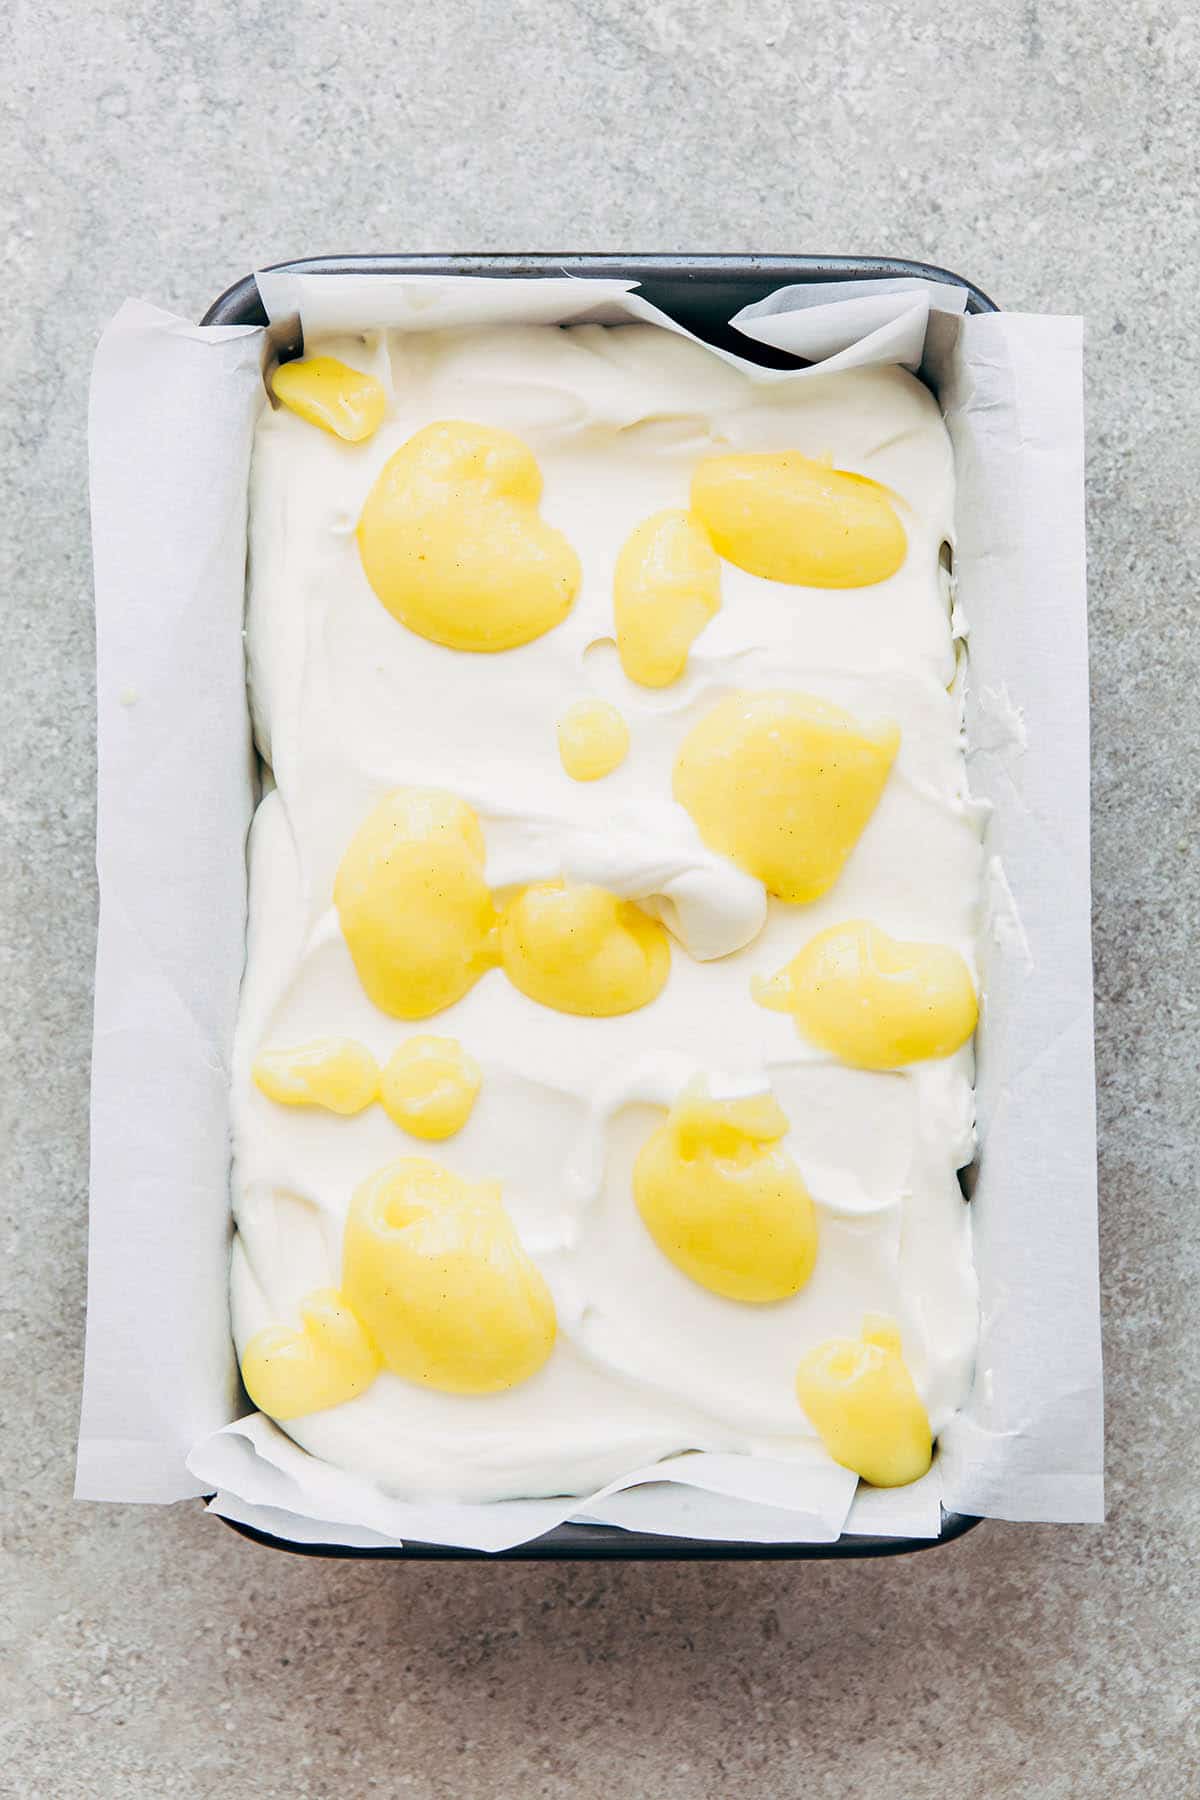
    Spread the final third of whipped cream evenly into the loaf tin and dollop it with the remaining third of lemon curd.
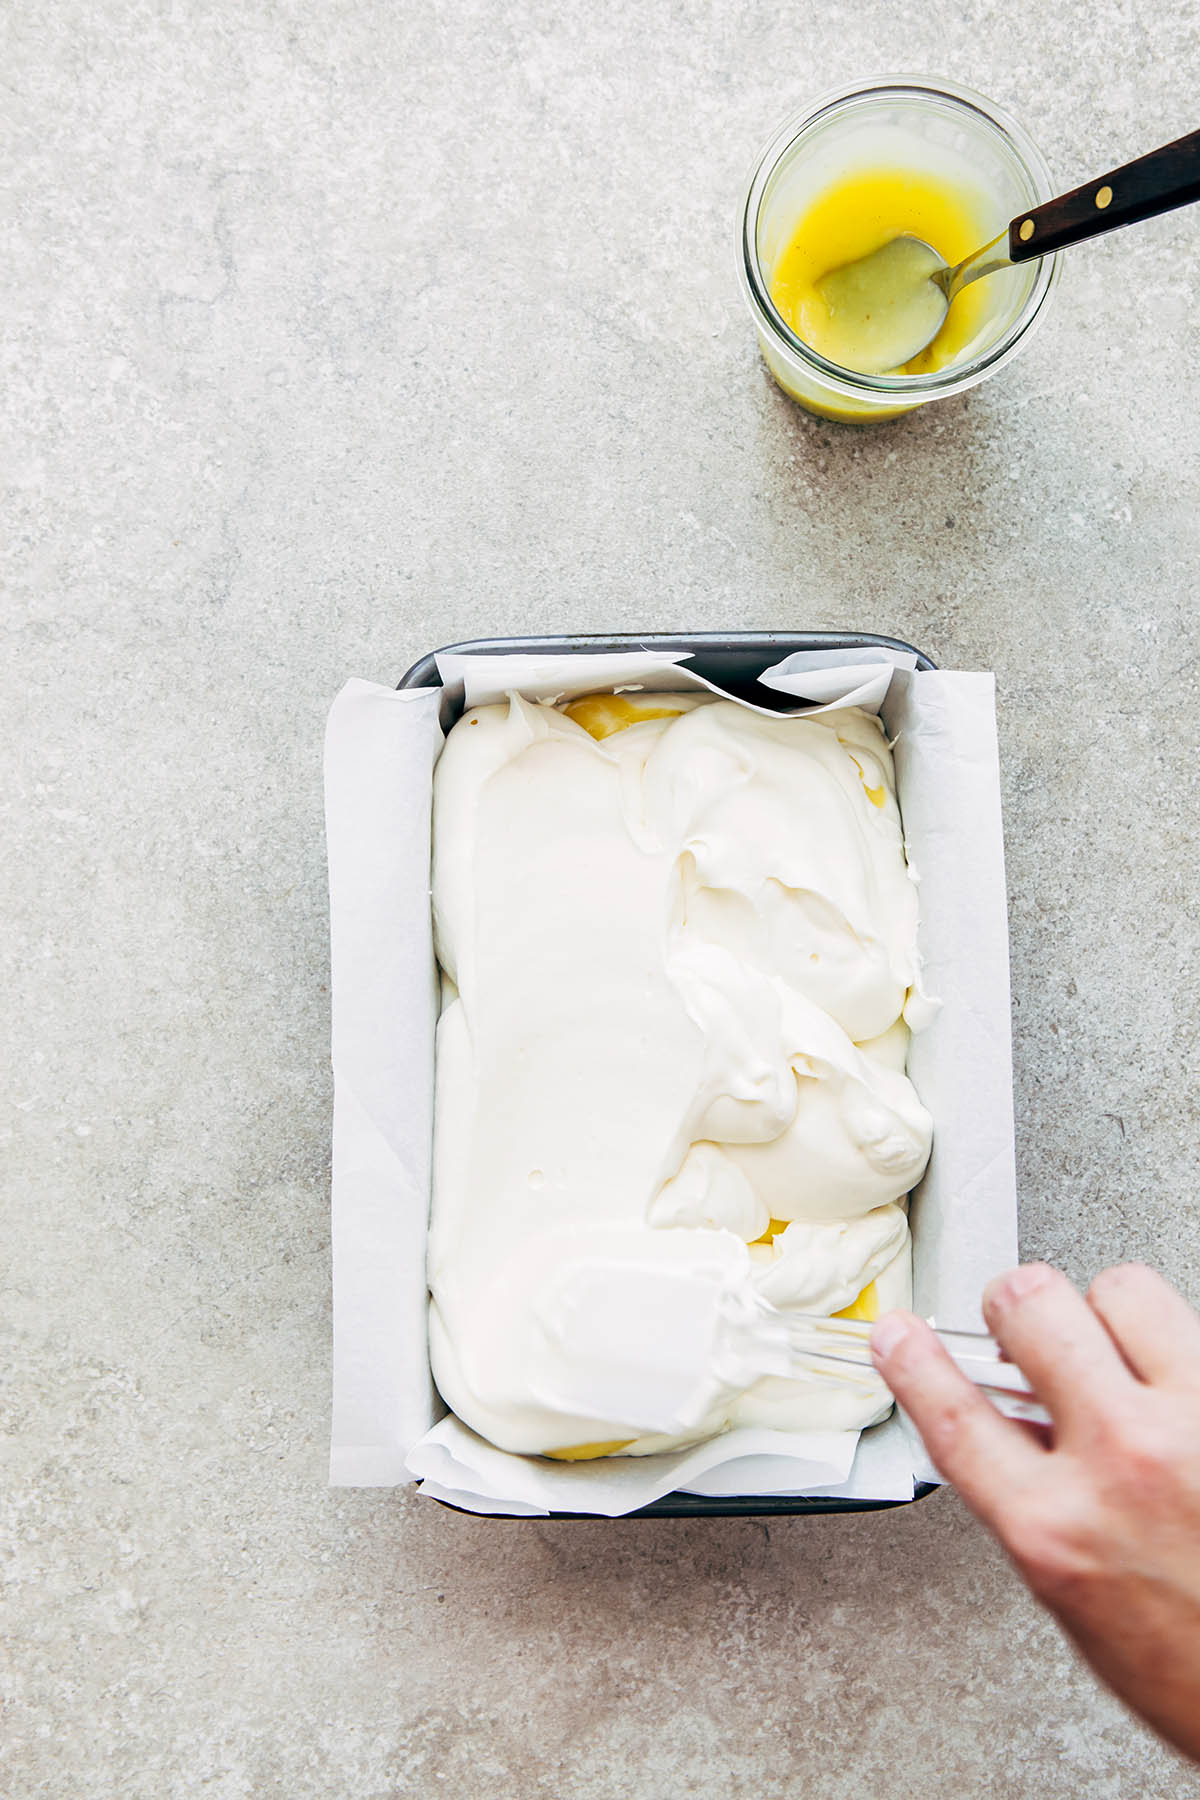
    A hand spreading whipped cream in a loaf tin with a rubber spatula.
    A loaf pan of whipped cream dolloped all over with lemon curd.

    Swirl together the final top layer of curd and cream. Cover the tin with a piece of aluminum foil, or a lid if your tin has one, and freeze the lemon curd ice cream for 6 to 8 hours.
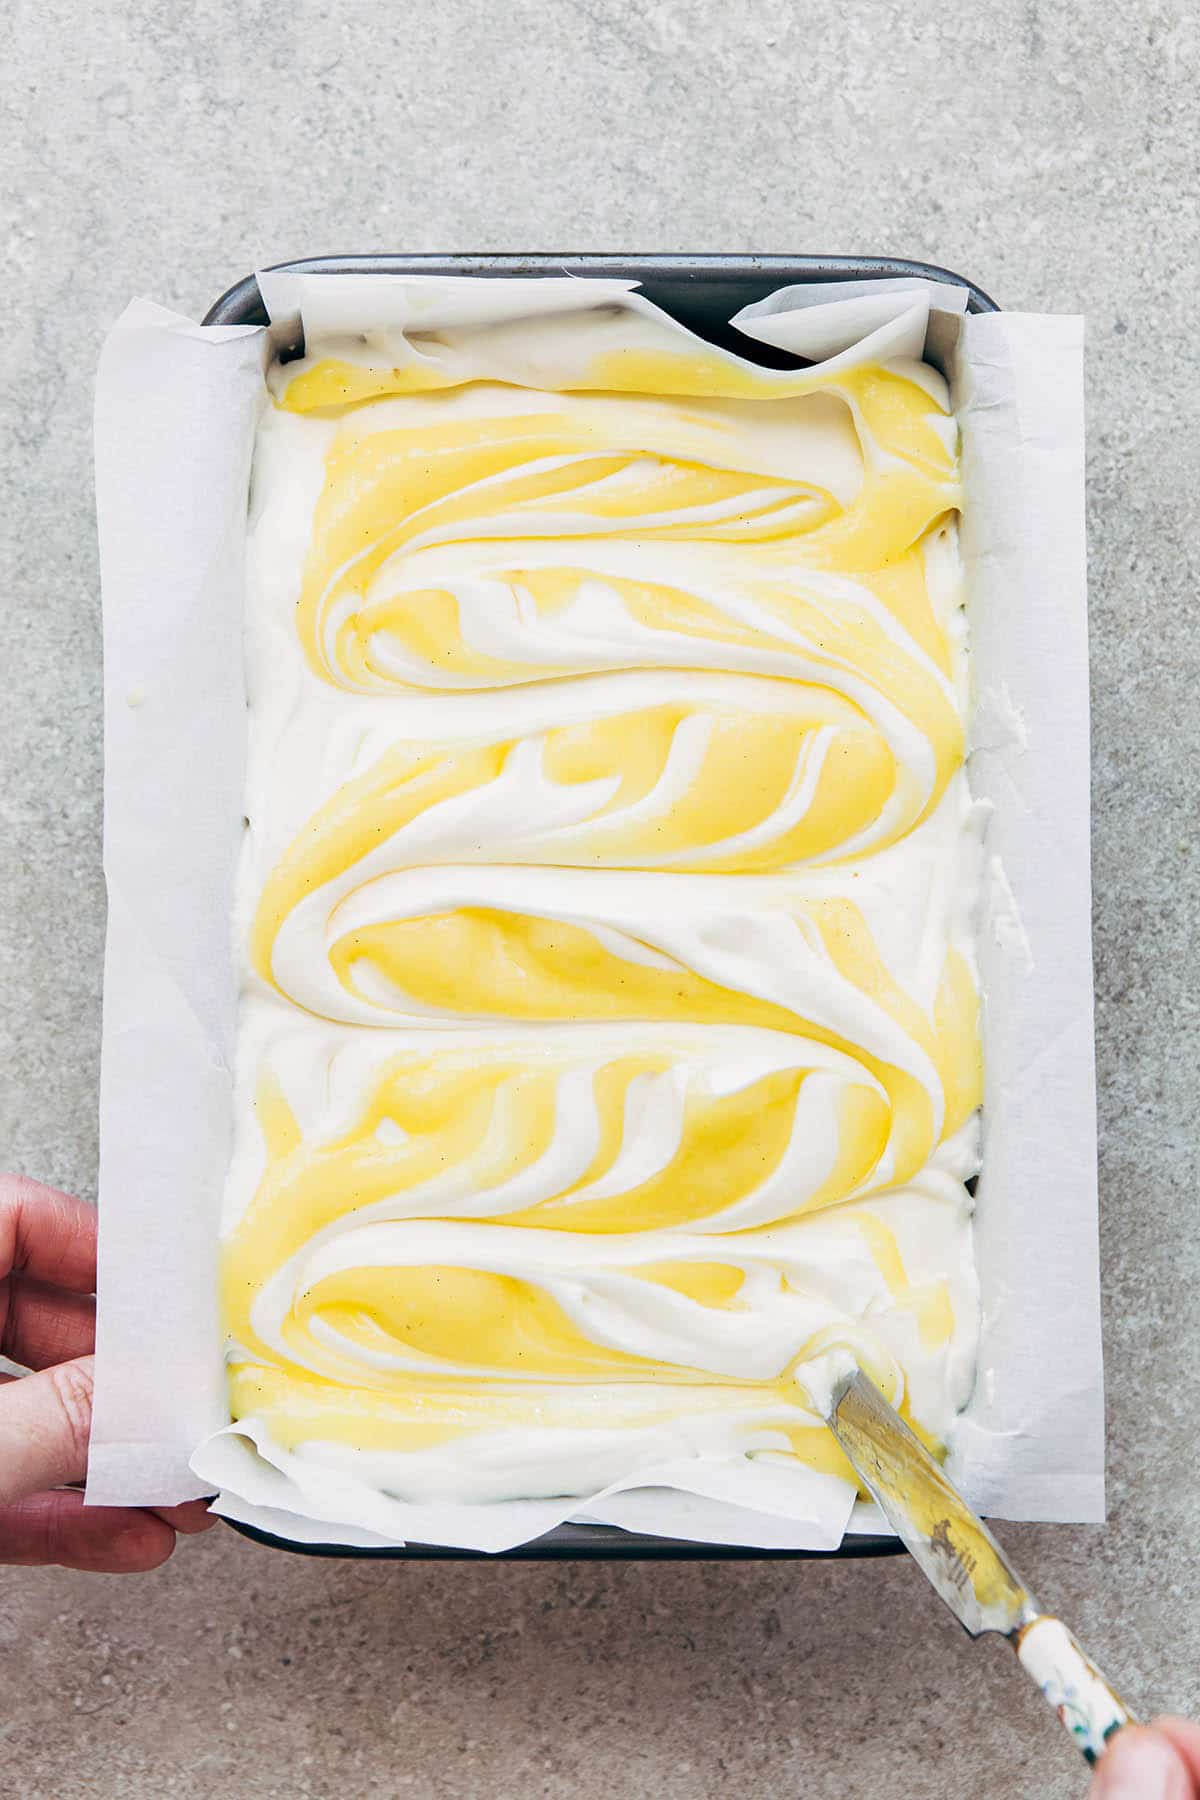
    A hand swirling lemon curd through no churn ice cream with a butter knife.

    Scoop, serve, and enjoy!

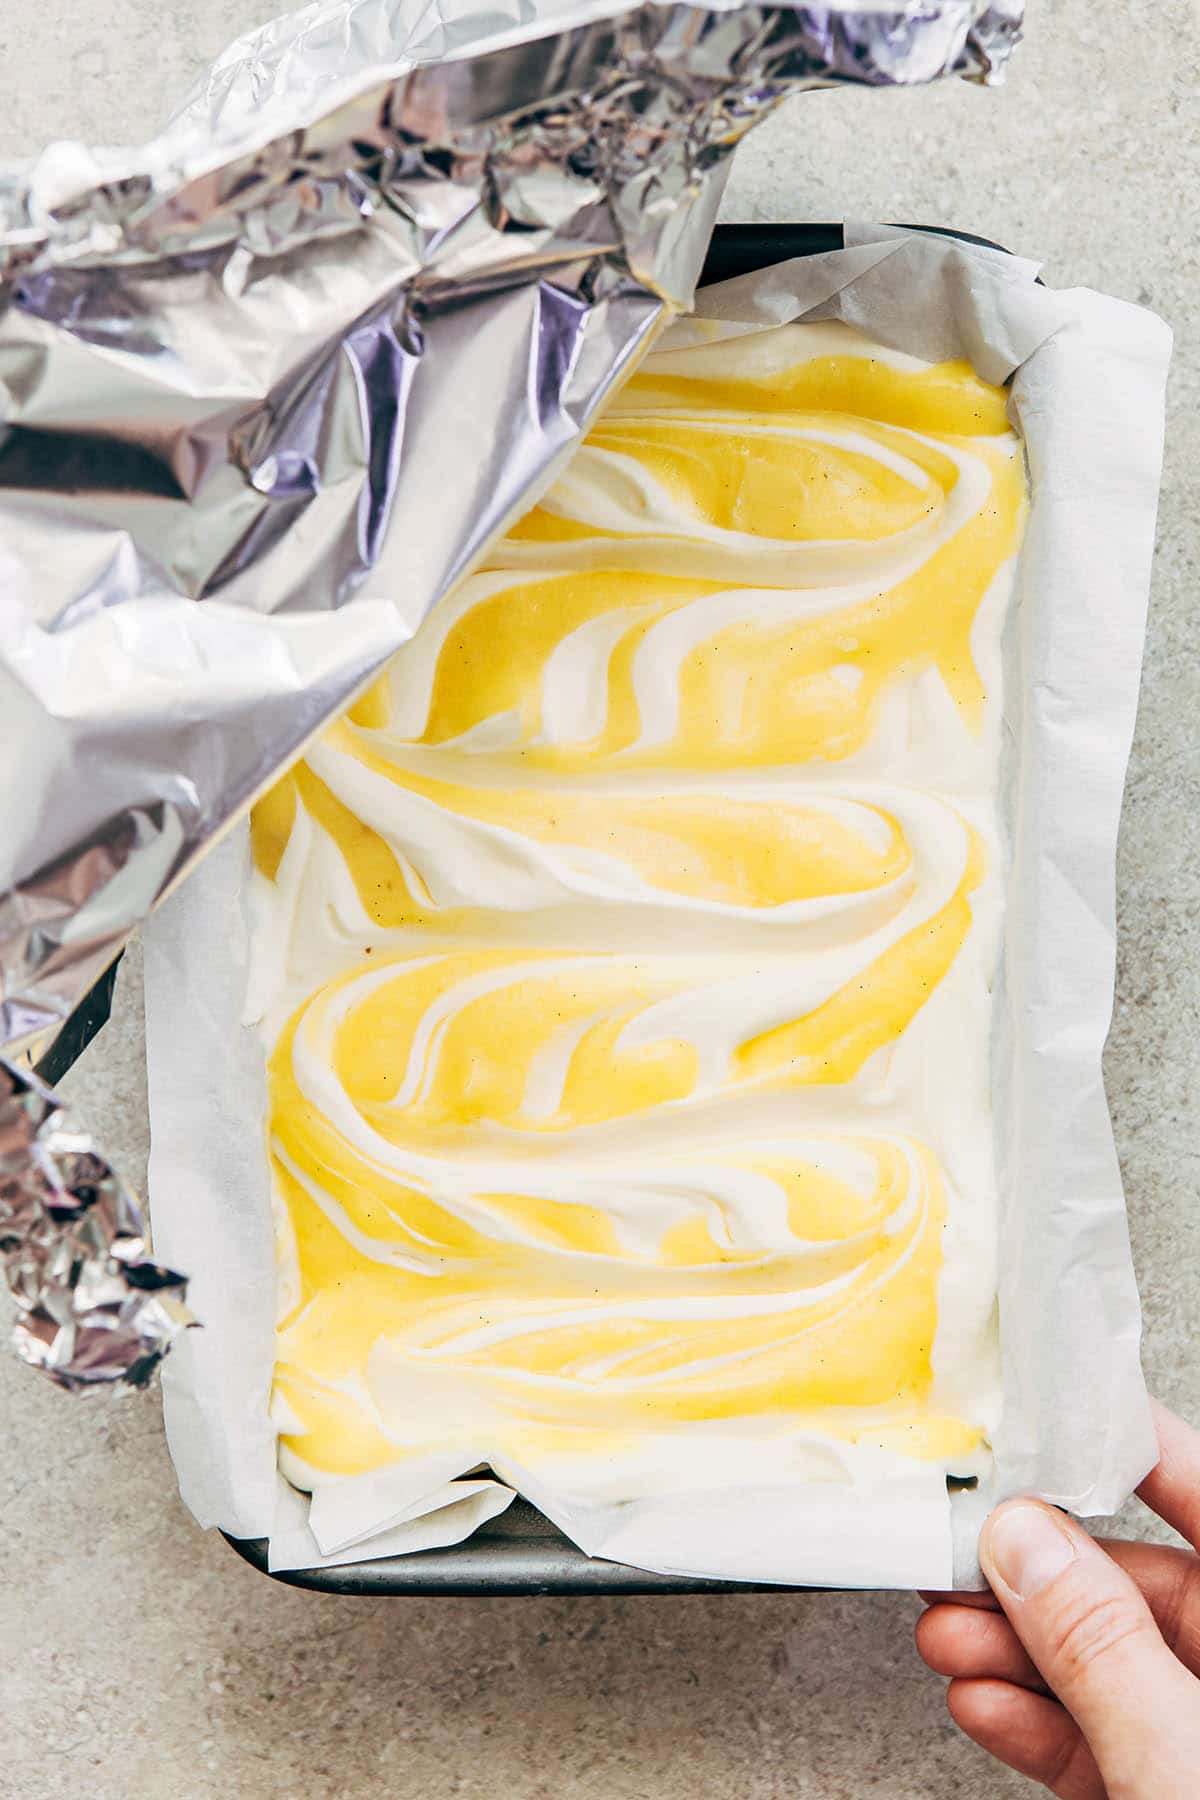
    A hand removing aluminum foil from the top of a loaf pan of homemade ice cream.

    Notes & Tips

    Vodka is added to the ice cream base to help prevent it from freezing rock solid, however, it is completely optional. Some people say no-churn ice cream can be scooped straight from the freezer, however, in my experience, if using:

    • No Vodka – Place your lemon curd ice cream in the fridge to thaw for 15 to 20 minutes before scooping.
    • 1 Tablespoon Of Vodka – Thaw 10 to 15 minutes in the fridge before scooping.
    • 2 Tablespoons Of Vodka – Thaw 5 to 10 minutes in the fridge before scooping.

    If your lemon curd ice cream is too hard to scoop you can lift it out of the tin whole and serve it cut into slices.
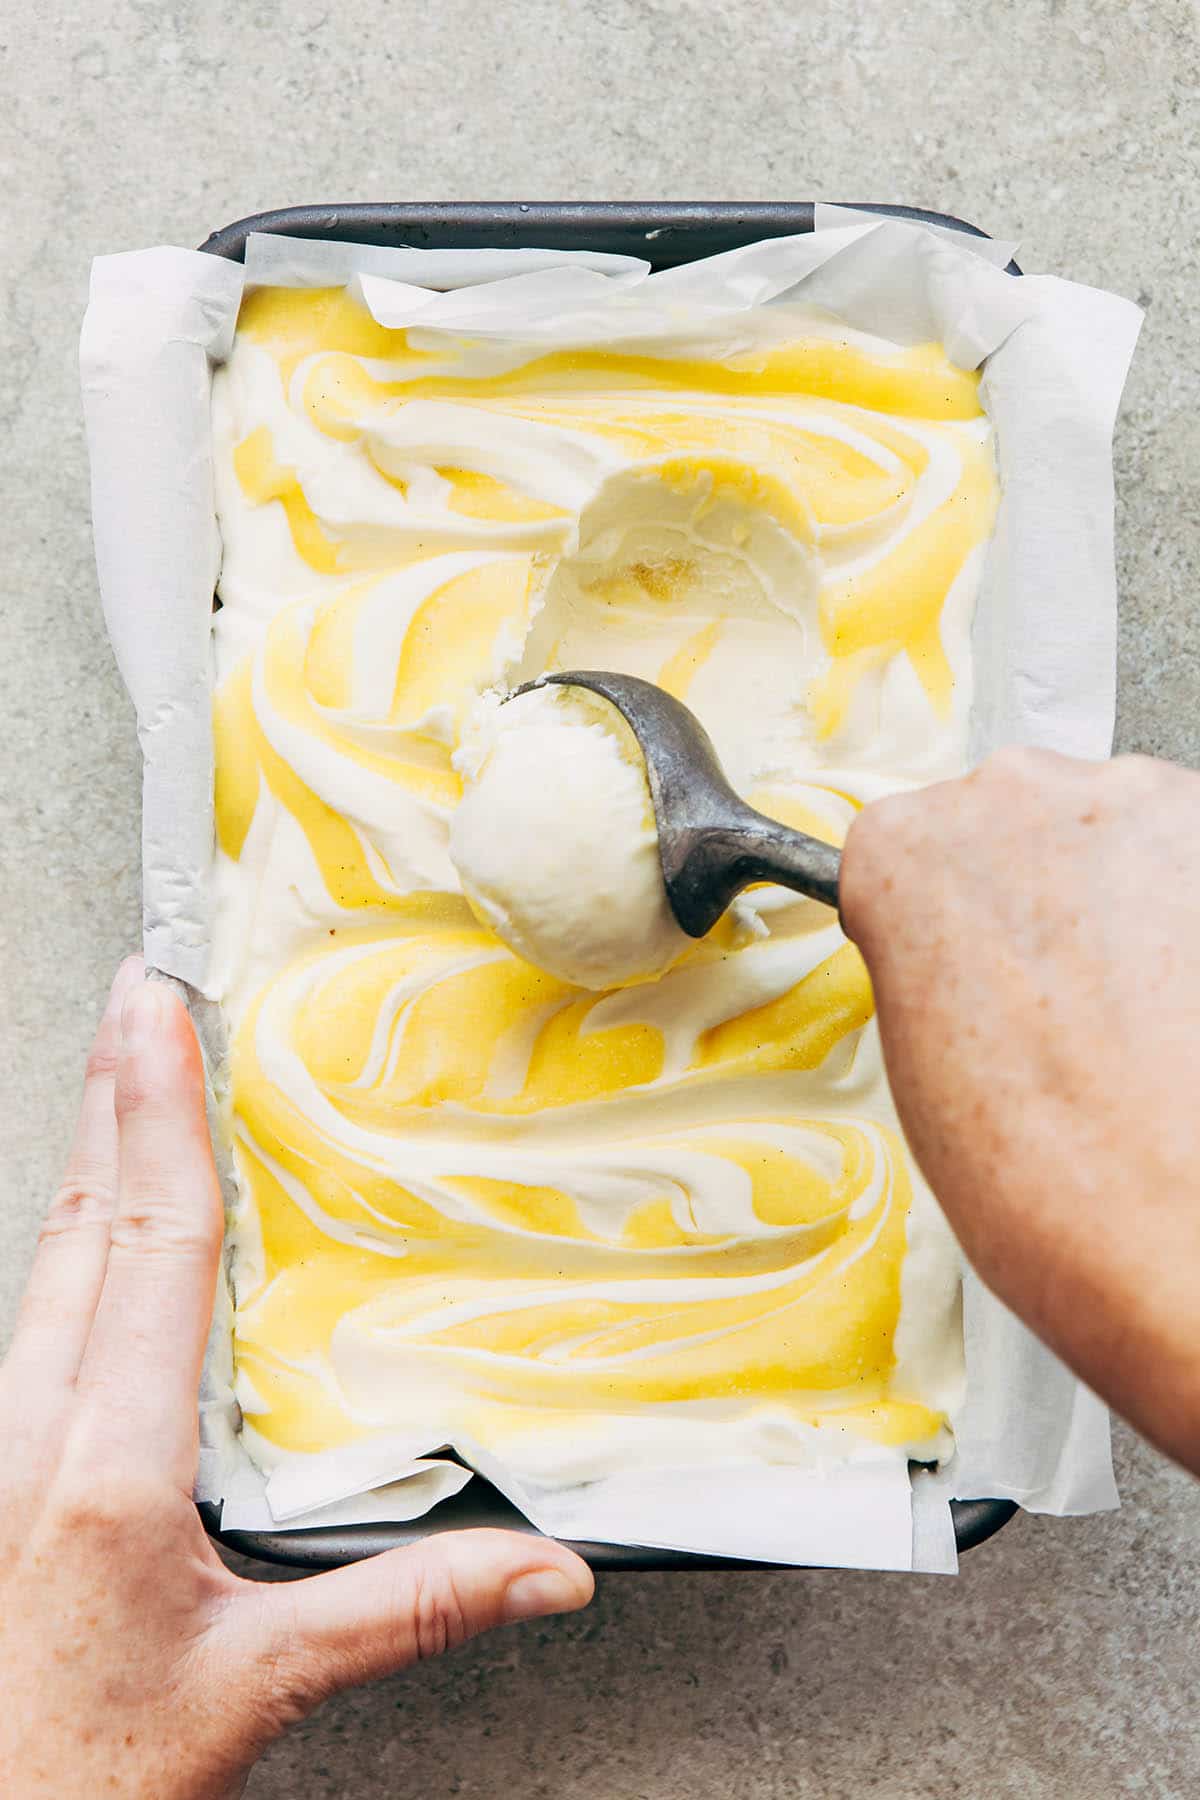
    A hand scooping ice cream.

    Substitutions

    If you don’t want to make homemade microwave lemon curd you can use a jar of store-bought. That being said, I promise you, homemade lemon curd is SO EASY and SO GOOD.

    You can omit the vodka completely, however, you may need to let your lemon curd ice cream thaw in the fridge for a while before scooping.

    Any clean-tasting 40% alcohol spirit can be used in place of vodka, but vodka is the best for leaving no trace of taste.

    Don’t substitute the heavy cream or condensed milk. It won’t be the same at all.
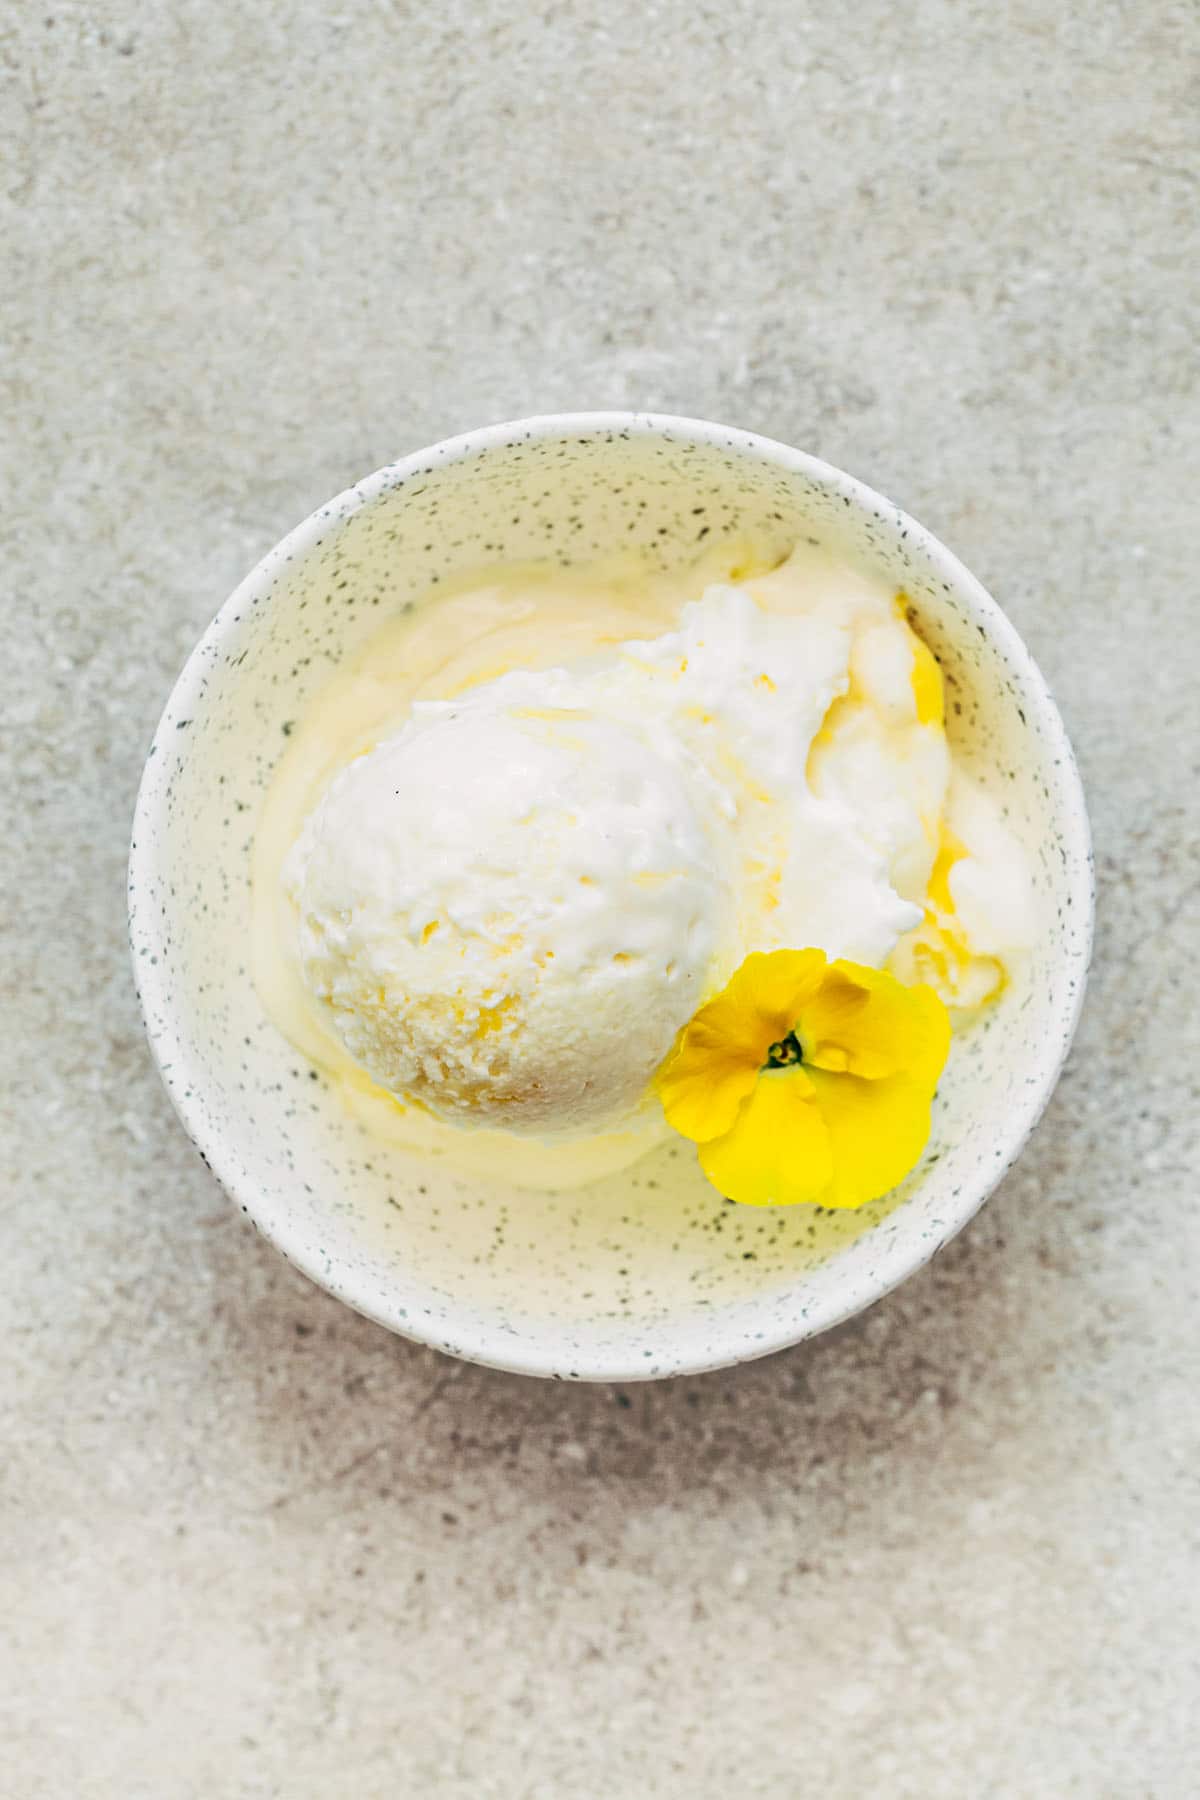
    A small dish of ice cream garnished with a yellow pansy.

    More Tasty No-Bake Treats

    Chocolate Raspberry Icebox Cake

    Pretzel-Chocolate Chip Cookie Ice Cream Sandwiches

    Chocolate Peanut Butter Ice Cream

    πŸ–¨ Recipe

    A loaf pan of lemon curd ice cream with a scoop on top.

    Lemon Curd Ice Cream

    Author: Kelly Neil
    Calling all lemon lovers! Lemon curd ice cream, with rich, smooth, no-churn vanilla ice cream, and ribbons of sunshiny lemon curd, is a creamy dreamy treat!
    5 from 3 votes
    Print Recipe Pin Recipe Save Recipe Saved!
    Prep Time 15 mins
    Freezing Time: 8 hrs
    Total Time 8 hrs 15 mins
    Course Ice Cream & Frozen Treats
    Cuisine European / Canadian
    Servings 8 servings
    Calories 483 kcal

    Equipment

    • Insulated ice cream container(s) with lids or a standard loaf tin
    • Aluminium foil if using loaf tin
    • Parchment paper
    • Measuring cups and spoons or digital kitchen scale
    • Small-medium mixing bowl
    • Large mixing bowl this could be the bowl of a stand mixer if that's what you're using
    • Electric hand or stand mixer with whisk attachment
    • Rubber spatula or wooden spoon
    • Butter knife

    Ingredients
     

    • 1 can sweetened condensed milk
    • 2 tablespoons vodka, optional
    • 1 teaspoon vanilla
    • β…› teaspoon salt
    • 2 cups 35% whipping cream
    • 1 cup homemade lemon curd

    Instructions
     

    • Have insulated ice cream container(s) with lid(s) ready or, line a standard loaf tin with parchment paper and set aside.
    • Stir the condensed milk, vodka (if using), vanilla, and salt together in a small-medium bowl until well combined. Set aside.
    • Add the whipping cream to a large mixing bowl (or the bowl of a stand mixer). Using a hand or stand mixer on medium-high speed, whip the cream to medium-stiff peaks, about 3 to 4 minutes.
    • Scrape the condensed milk mixture into the bowl of whipped cream. Using the mixer, continue to whip everything together until the ice cream base is light and fluffy, and the condensed milk is well combined. Stop the mixer and scrape down the sides of the bowl with a rubber spatula if you need.
    • Dollop β…“ of the ice cream base into the bottom of the prepared ice cream tub(s). Spread the top of the cream evenly inside the tub then dollop it with β…“ of the lemon curd on top. Use a butter knife to swirl the curd gently through the top of the cream. Repeat twice more with the remaining ice cream base and lemon curd to make a total of three layers of cream and swirled lemon curd.
    • Place the lid on the ice cream container(s) and freeze for 6 to 8 hours before scooping and serving.

    Notes

    For insulated ice cream containers, I use the Tovolo Glide-A-Scoop 1.5 Quart from Amazon. I also have theΒ Tovolo Tight-Fitting Stack Friendly Sweet Treat Ice Cream Tub. This recipe makes about 2 quarts of ice cream so I have to use both of my tubs for storage. If you have enough freezer space, you could get aΒ SUMO Jumbo Homemade Ice Cream ContainerΒ to keep all of the ice cream in one container.
    I used to store my homemade ice cream in a standard metal loaf tin covered in plastic wrap. I find the metal makes the ice cream too hard and you have to let it thaw for at least 15 minutes before scooping. The insulated tubs I mentioned above are a game changer!
    Vodka is added to the ice cream base to help prevent it from freezing rock solid, however, it is completely optional. Some people say no-churn ice cream can be scooped straight from the freezer, however, in my experience, if using:
    • No Vodka – Place your lemon curd ice cream in the fridge to thaw for 15 to 20 minutes before scooping.
    • 1 Tablespoon Of Vodka – Thaw 10 to 15 minutes in the fridge before scooping.
    • 2 Tablespoons Of Vodka – Thaw 5 to 10 minutes in the fridge before scooping.
    You can omit the vodka completely, however, you may need to let your ice cream thaw in the fridge for a while before scooping.
    Any clean-tasting 40% alcohol spirit can be used in place of vodka, but vodka is the best for leaving no trace of taste.
    If your ice cream is too hard to scoop you can also lift it out of the tin whole and serve it cut into slices.
    If you don’t want to make homemade microwave lemon curd you can use a jar of store-bought. That being said, I promise you, homemade lemon curd is SO EASY and SO GOOD.
    Don’t substitute the heavy cream or condensed milk. It won’t be the same at all.

    Nutrition

    Serving: 113gCalories: 483kcalCarbohydrates: 47gProtein: 6gFat: 30gSaturated Fat: 19gPolyunsaturated Fat: 1gMonounsaturated Fat: 7gTrans Fat: 1gCholesterol: 88mgSodium: 206mgPotassium: 244mgFiber: 1gSugar: 47gVitamin A: 1056IUVitamin C: 2mgCalcium: 182mgIron: 1mg
    Did you make this recipe?Let me know on Instagram @kellyneildotcom or tag #kellyneil!

    More Dessert Recipes

    • Brown Butter Banana Bread
    • Chocolate Chip Pecan Cookies
    • Pistachio Ice Cream
    • Blueberry Cake Donuts
    • Share
    • Tweet
    • Email
    • Print

    Reader Interactions

    Leave a Reply Cancel reply

    Your email address will not be published. Required fields are marked *

    Recipe Rating


    Primary Sidebar

    Hi there! πŸ‘‹πŸ» I'm Kelly, the photographer, and voice behind kellyneil.com. This is where you'll find my favorite baking recipes and easy meals I make for my family.
    More about me β†’

    Spring Recipes

    • Chicken Florentine Soup
    • Pesto Mayo
    • Mango Pico De Gallo
    • Earl Grey Yogurt Cake
    • Cherry Clafoutis
    • Gluten-Free Rhubarb Crisp

    Featured In


    Popular Recipes

    • Nova Scotia Seafood Chowder
    • Nova Scotia Blueberry Grunt
    • Homemade Baked Beans With Molasses
    • Whipped Cream Cheese Frosting
    • Chicken Florentine Soup
    • Dutch Oven Beef Stew
    • Email
    • Facebook
    • Instagram
    • Pinterest

    Footer

    ↑ back to top
    About Me
    Contact
    Accessibility Statement
    Privacy Policy
    As an Amazon Associate, I earn from qualifying purchases.
    Copyright Β© 2023
    Kelly Neil